Rig a humanoid model, apply a motion preset, and inspect the animated result. Create a new character with Meshy 7.1.
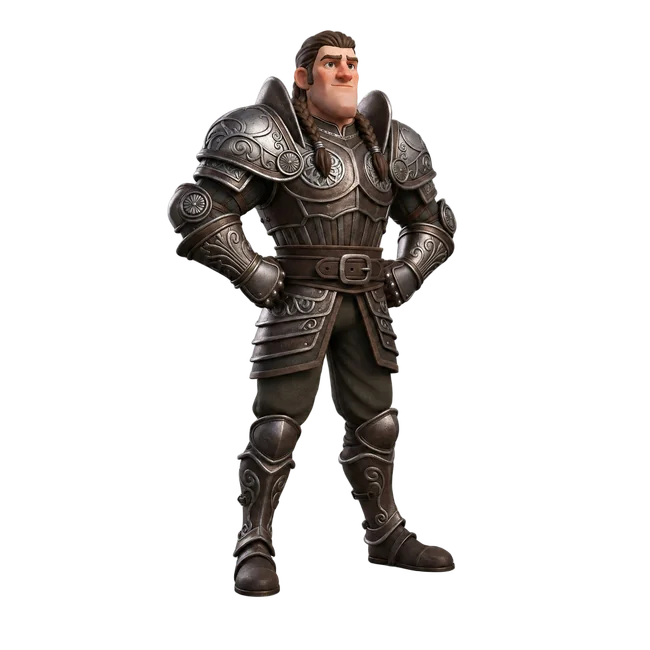
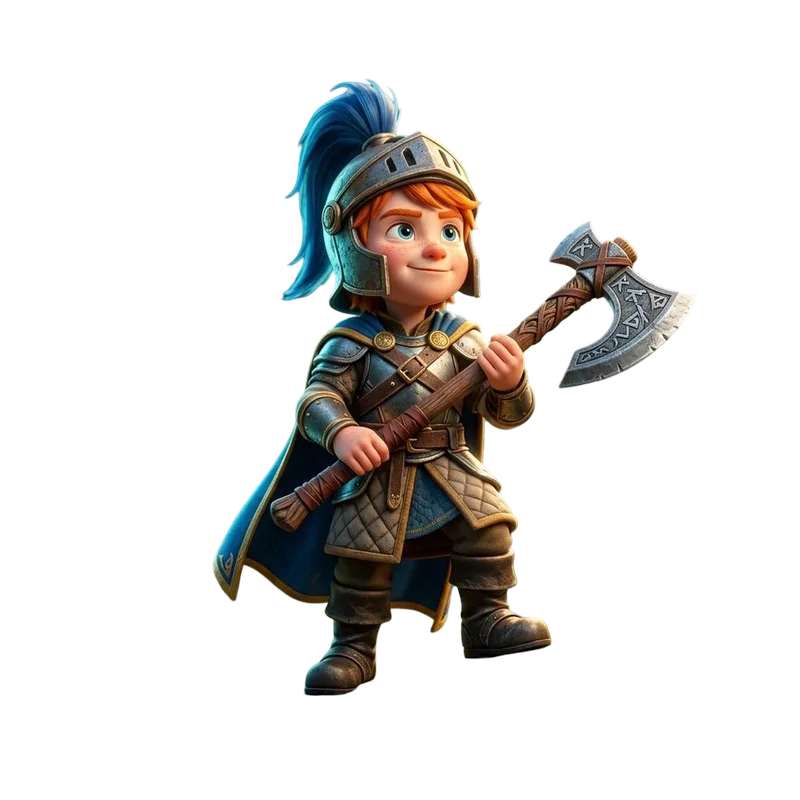
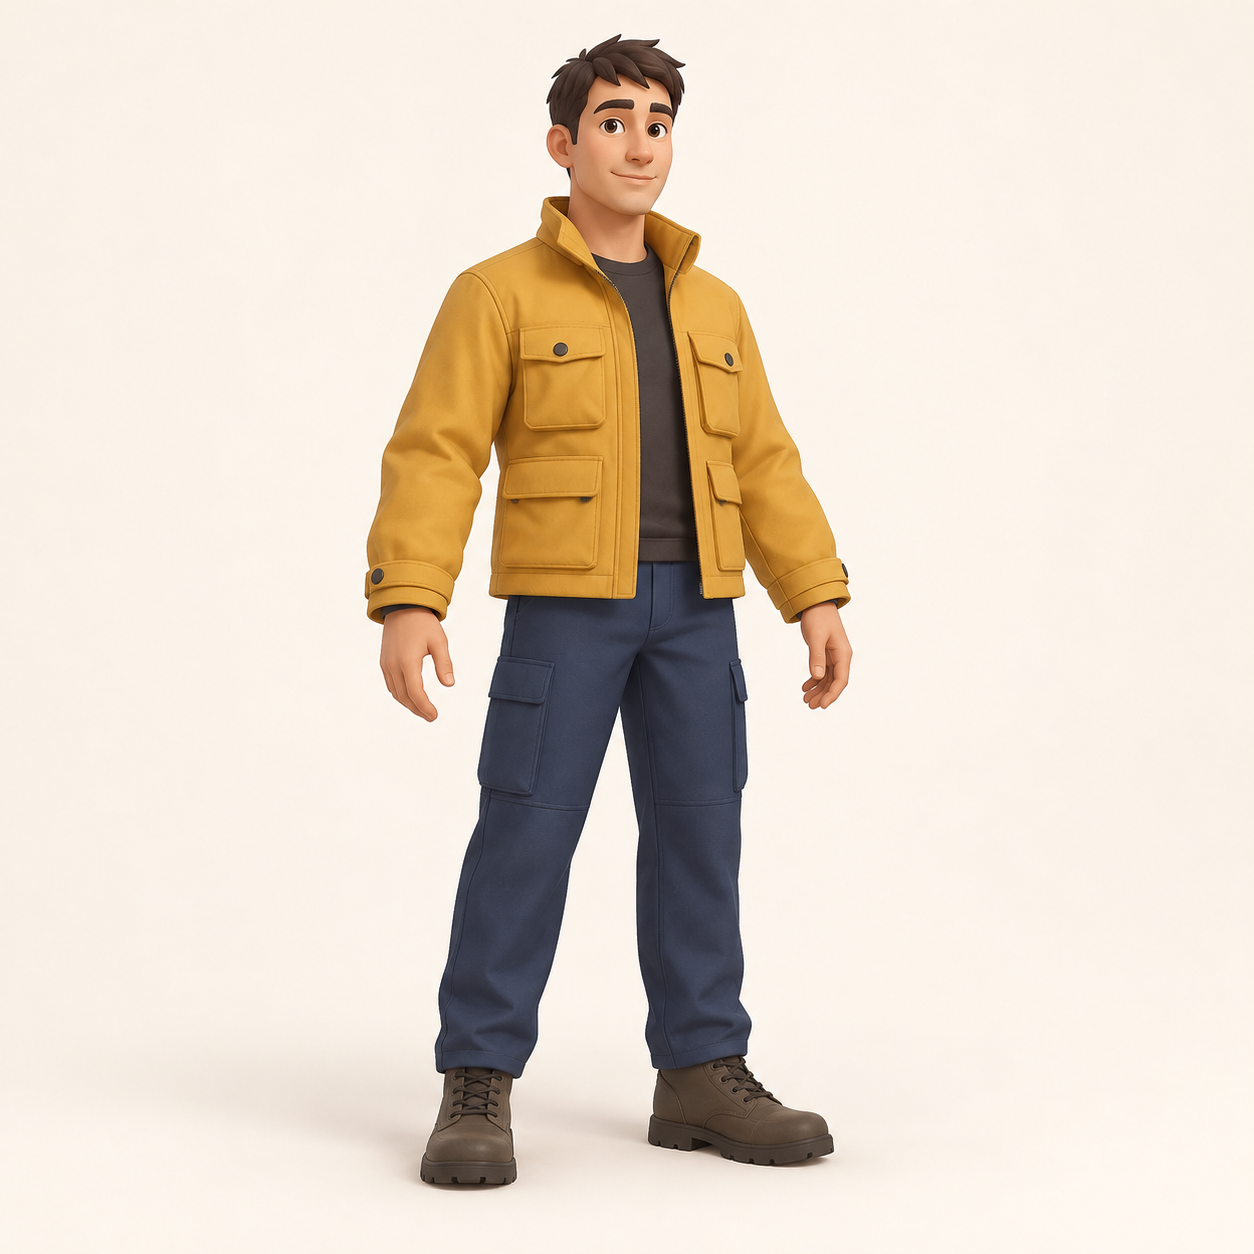
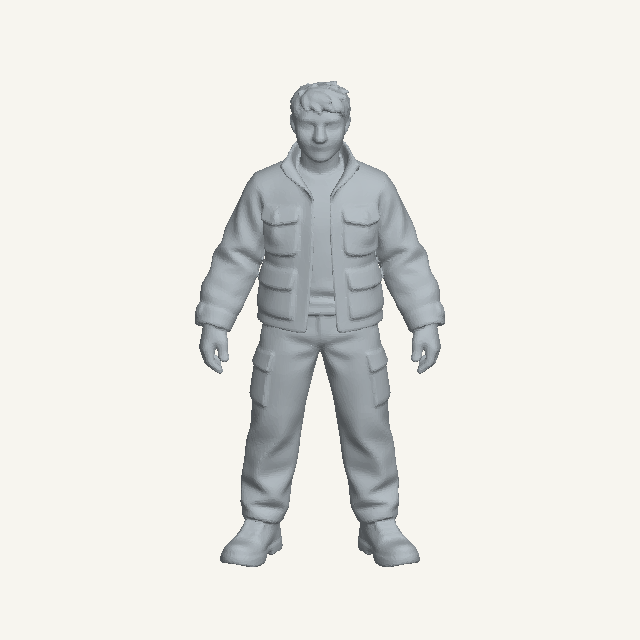
Saved courier case · one skeleton, 24 joints, three motion files. This mesh has no color texture. Inspect the jacket, knees, and foot contact during playback.
A character mesh is the visible surface. A skeleton supplies joints that move the body. Skinning assigns parts of the surface to those joints, and an animation clip records their movement over time. A character can have a skeleton without a motion clip, or moving objects without a skinned skeleton. Check which of these your file actually contains before calling it an animated, rigged character.
Already have a character? Open Rig & Animate and upload a humanoid GLB up to the size shown in that workspace, or select a compatible model from History. Choose Rig only to add a skeleton, or Rig + Animation to request a motion clip as well. To create a new character, the text and image entry points open Meshy 7.1 with the animated-character preset. Check the available controls and credit total for your chosen model before starting.
Open Rig & Animate for an existing GLB, or prepare a new mesh with the 3D character generator. Review the Meshy 7.1 model guide and credit details.
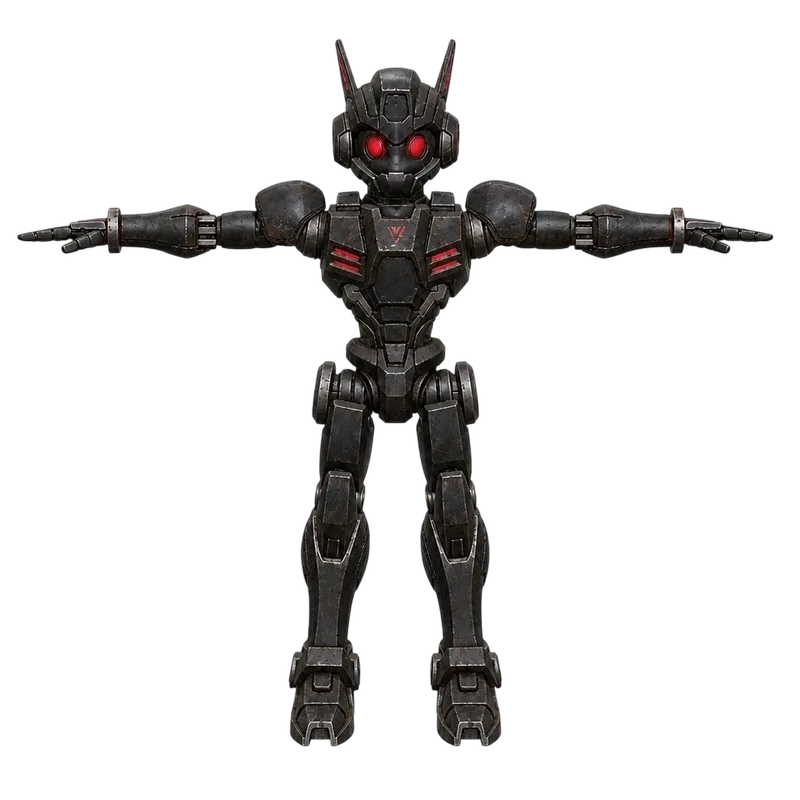
Use a neutral A-pose or T-pose with visible space between the arms and torso and between the legs. Keep the character upright and avoid a cropped head or feet. A dramatic action pose may look attractive in a still image but can hide the joint regions that automatic rigging needs. Long hair, coats, capes, and held props can merge into the body and bend with the wrong joint.


The saved source GLB has one mesh, no skeleton, and no motion clips. It shows the input to rigging; an animated result must be checked separately.
In Rig & Animate, select Rig + Animation and choose one of the presets currently listed. In the new-character preset, keep Rigging and Animation enabled and review the selected motion and height. After the job completes, select a named animation clip in the viewer, play it at normal speed, then slow it to 0.5×. Camera auto rotation only changes your view; it does not show whether the character itself has an animation.
Download the files returned by the completed job. GLB can carry geometry, materials, skinning, and animation together, but a GLB extension alone does not prove that clips or bones are present. Reopen the downloaded file and confirm its clip names, duration, skeleton, and deformation. Use FBX when that completed job actually provides it and your destination needs it. OBJ and STL are static geometry formats and do not preserve a skeletal animation clip.
Use the 3D model viewer to inspect your download and confirm that its animation clips are still present.
Inspect the exported character in the app where you will use it. Retargeting means mapping motion from one skeleton to another; it may require matching the rest pose, joint hierarchy, and character scale. In Blender, review the armature, skin weights, and action. In Unity, choose the appropriate rig import type, check the animation clips, and decide how root motion should drive the character. A downloadable animation is a starting asset; foot contact, collisions, looping, and performance still need testing in your scene.
Continue with Blender asset preparation or the Unity import guide.
Use the failure you can see to decide the next step. If an elbow or knee pinches, inspect topology and skin weights around that joint. If a coat or prop stretches, separate it from the body or adjust its attachment in a 3D editor. If feet slide, check clip speed, scale, and root-motion settings. If there are no clips, confirm that animation was requested and reopen the original animated download before changing the rig.
Yes. Both entry points use the existing Quady3D 3D generators with the animated-character preset and Meshy 7.1.
Use the separate Rig & Animate workspace for a compatible humanoid GLB. You can upload a local model or choose one from History. Automatic humanoid rigging does not support every object, animal, or unusual character structure.
Rigging adds the skeleton and skin weights that let a mesh bend. Animation supplies movement over time. Rig only can return a character with bones but no playable motion; request Rig + Animation when you also need a clip.
Use a full-body neutral A-pose or T-pose with separated arms and legs. Avoid crossed limbs, cropped feet, hidden hands, and props touching the body. Inspect the generated mesh as well as the original reference.
The current Quady3D workflow uses the motion presets exposed by the selected model. It does not capture a performance from video or provide a keyframe timeline editor. Use an animation editor for custom timing, facial animation, or detailed motion changes.
GLB can include skinning and animation clips. FBX can be useful for animation handoff when your completed job provides it. Reopen the actual downloaded file to verify its contents. OBJ and STL do not preserve skeletal animation.
Skin weights, mesh topology, the rest pose, or motion may not deform that region cleanly. Inspect it at a slower speed, improve the source pose, or edit the mesh and weights before using the character in a scene.
Import and test the actual download. Review scale, materials, the armature or rig type, clip timing, looping, and root motion. Retargeting to another skeleton and cleanup may still be necessary.
The selected workspace shows the credit total before submission. Processing an existing GLB and generating a new character are different jobs with different costs. Rig only and Rig + Animation can also have different totals. Playback of a saved example does not submit a new job.