









Pink knight
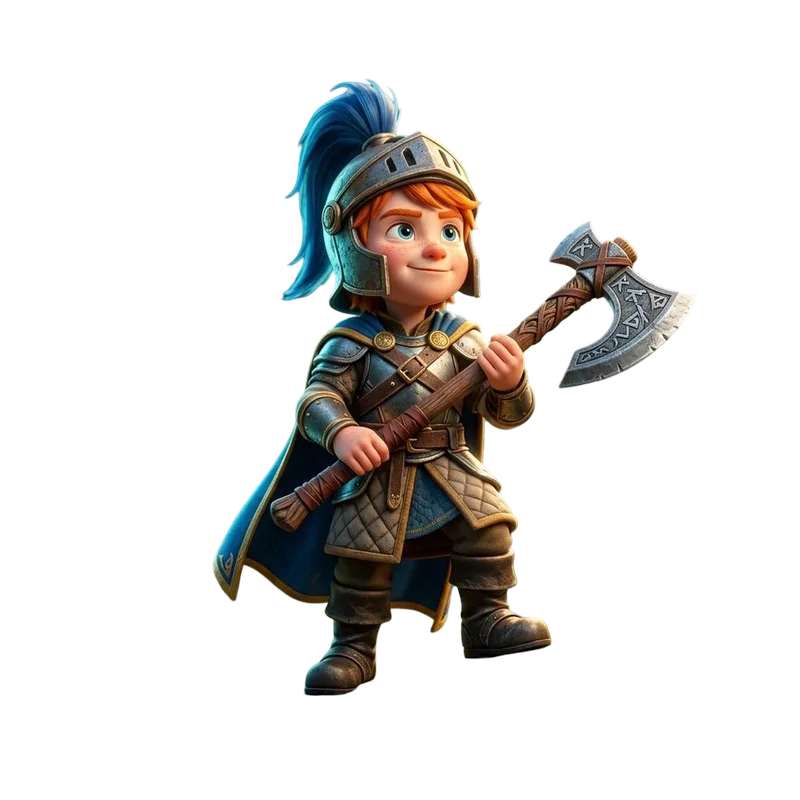
Storybook character art with silver armor, a pink cape, and a heart-shaped shield.

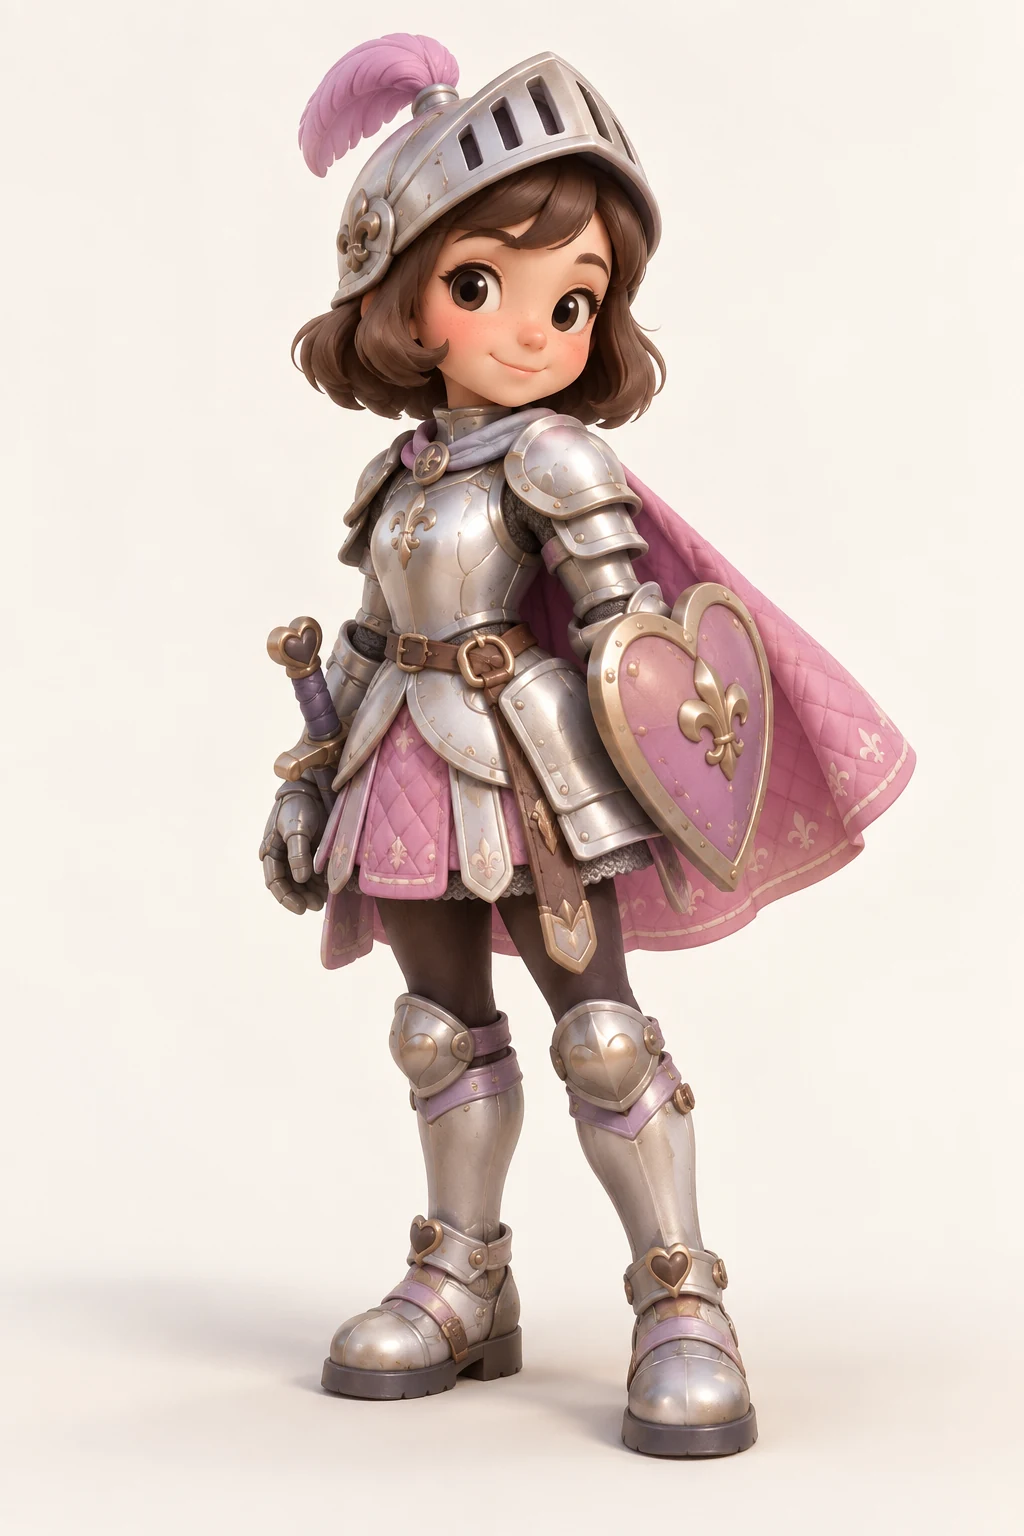
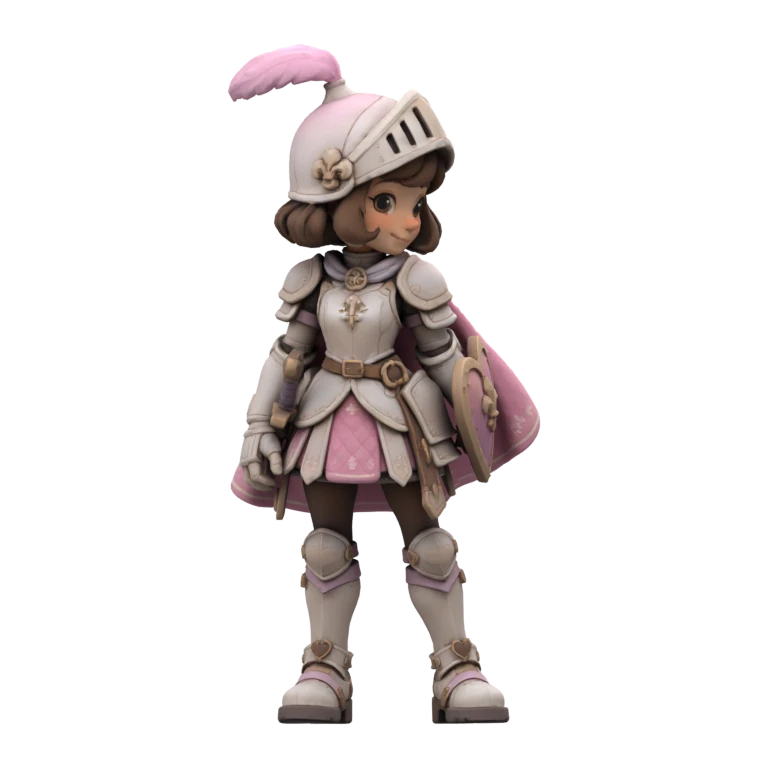
Turn a 2D photo or picture into a 3D model you can rotate and download. Upload a PNG, JPG, or WebP image, choose a model, and preview the result here.
Compare each original picture with the 3D model made from it. Open the viewer to see the result from every side.
Storybook character art with silver armor, a pink cape, and a heart-shaped shield.
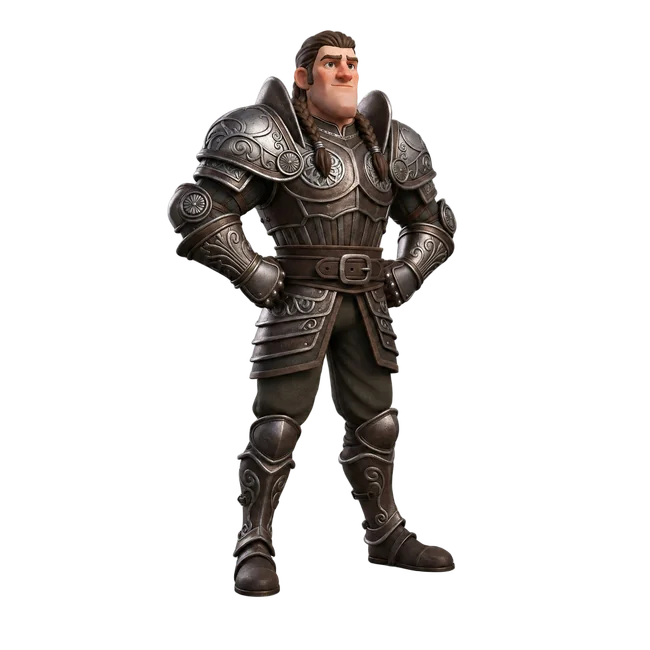
Dark fantasy character art with engraved armor, a closed helmet, and a red cape.
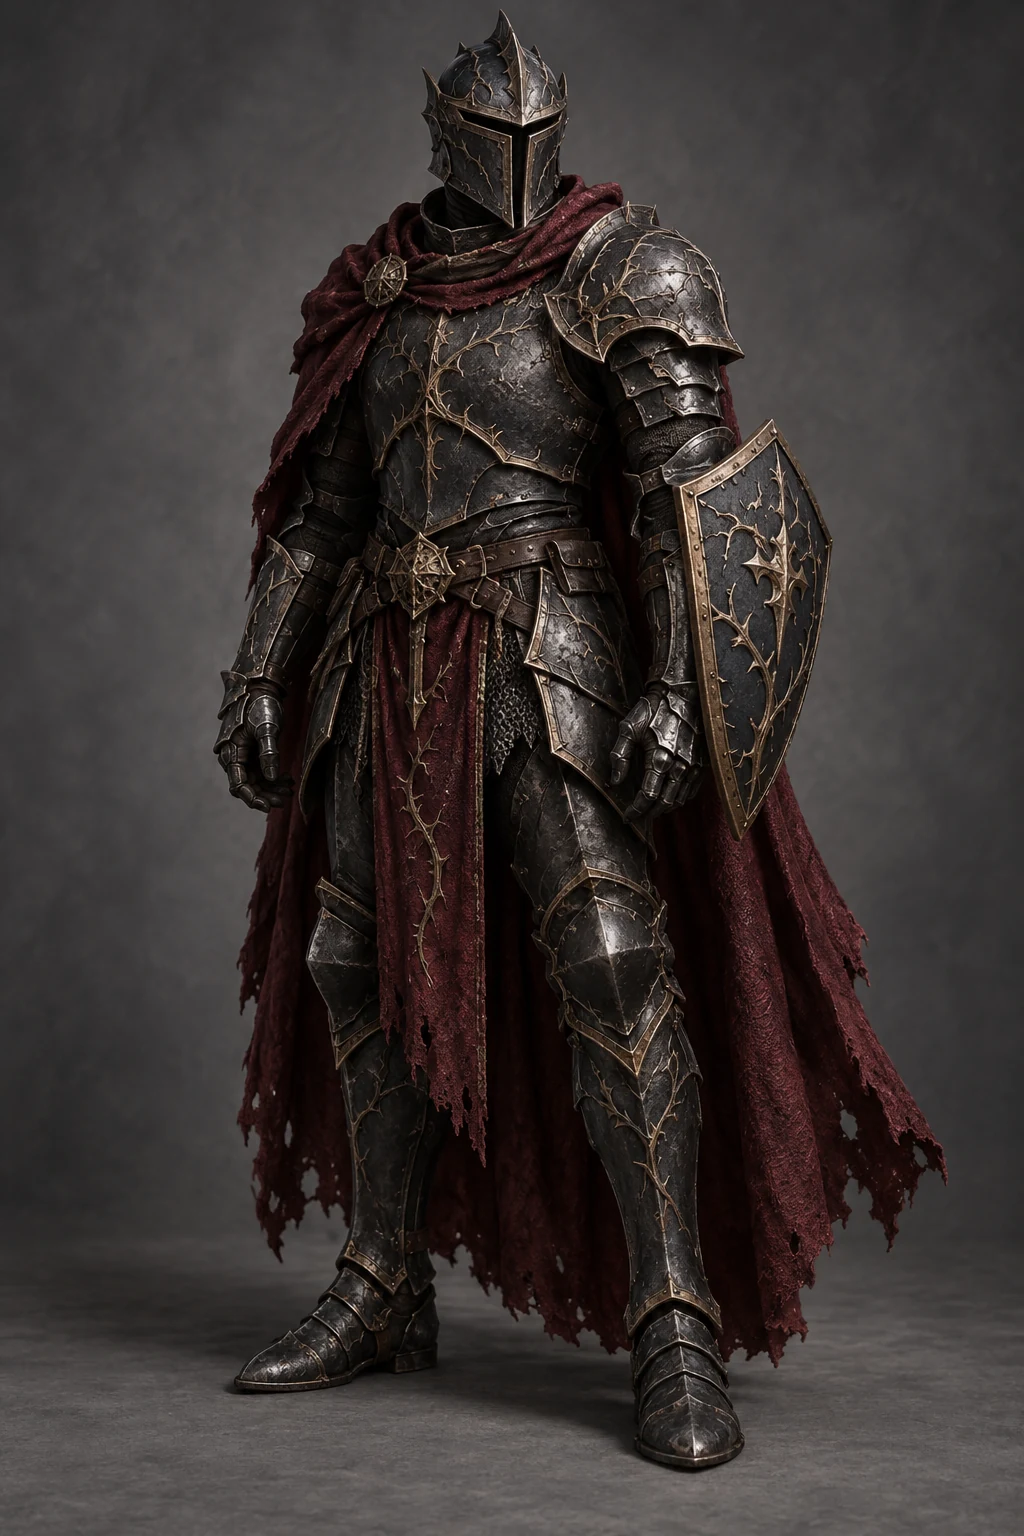
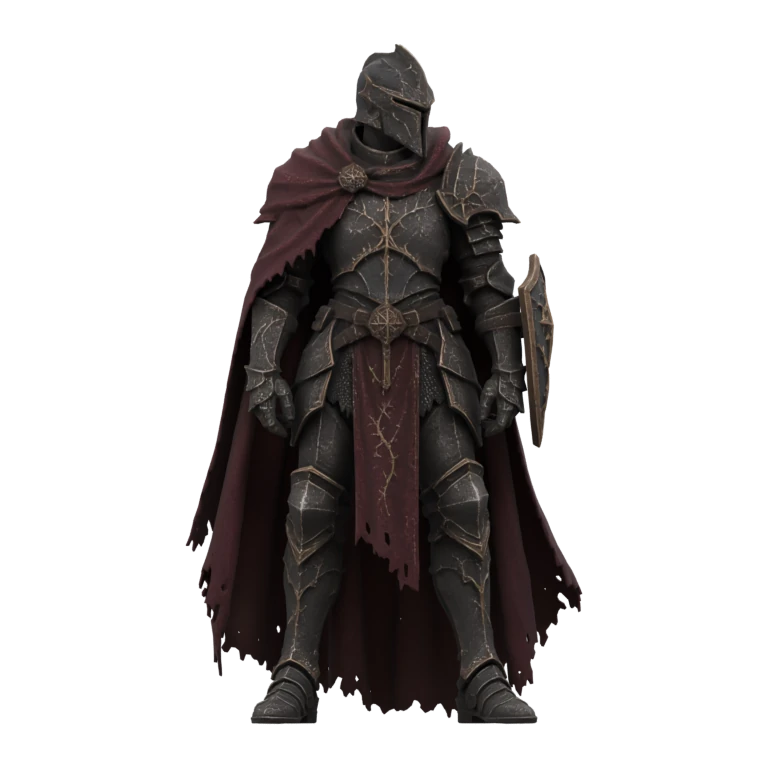
Each model was generated from the picture beside it. Check the inferred back in 3D, or use multiple views when hidden sides matter.
Each example pairs an image with its 3D result. Open one to inspect the model or try the image.
These models are useful starting points. Find every available model in the selector above.
 Tencent12 credits
Make a first geometry draft
Few settings · no texture switch
Open Hunyuan3D 2 Mini Tripo30 credits
Adjust mesh and texture settings
Shape detail, mesh layout, and texture controls
Open Tripo H3.1Tencent38 creditsChoose higher-quality geometry and optional PBR
Geometry, PBR, and face-count controls
Open Hunyuan3D 3.1 Pro Microsoft20 credits
Tune a textured GLB
Shape detail and texture controls
Open TRELLIS.2 TRELLIS.2 cases and controls Meshy120 credits
Build a textured 3D draft
Texture, shape detail, and mesh layout controls
Open Meshy 7.1Credits shown use default settings.
Try 3D generation and image tools.
For regular projects across the Quady3D model library.
For production projects with our largest monthly credit allowance.
The total for your model and settings is shown on Generate.
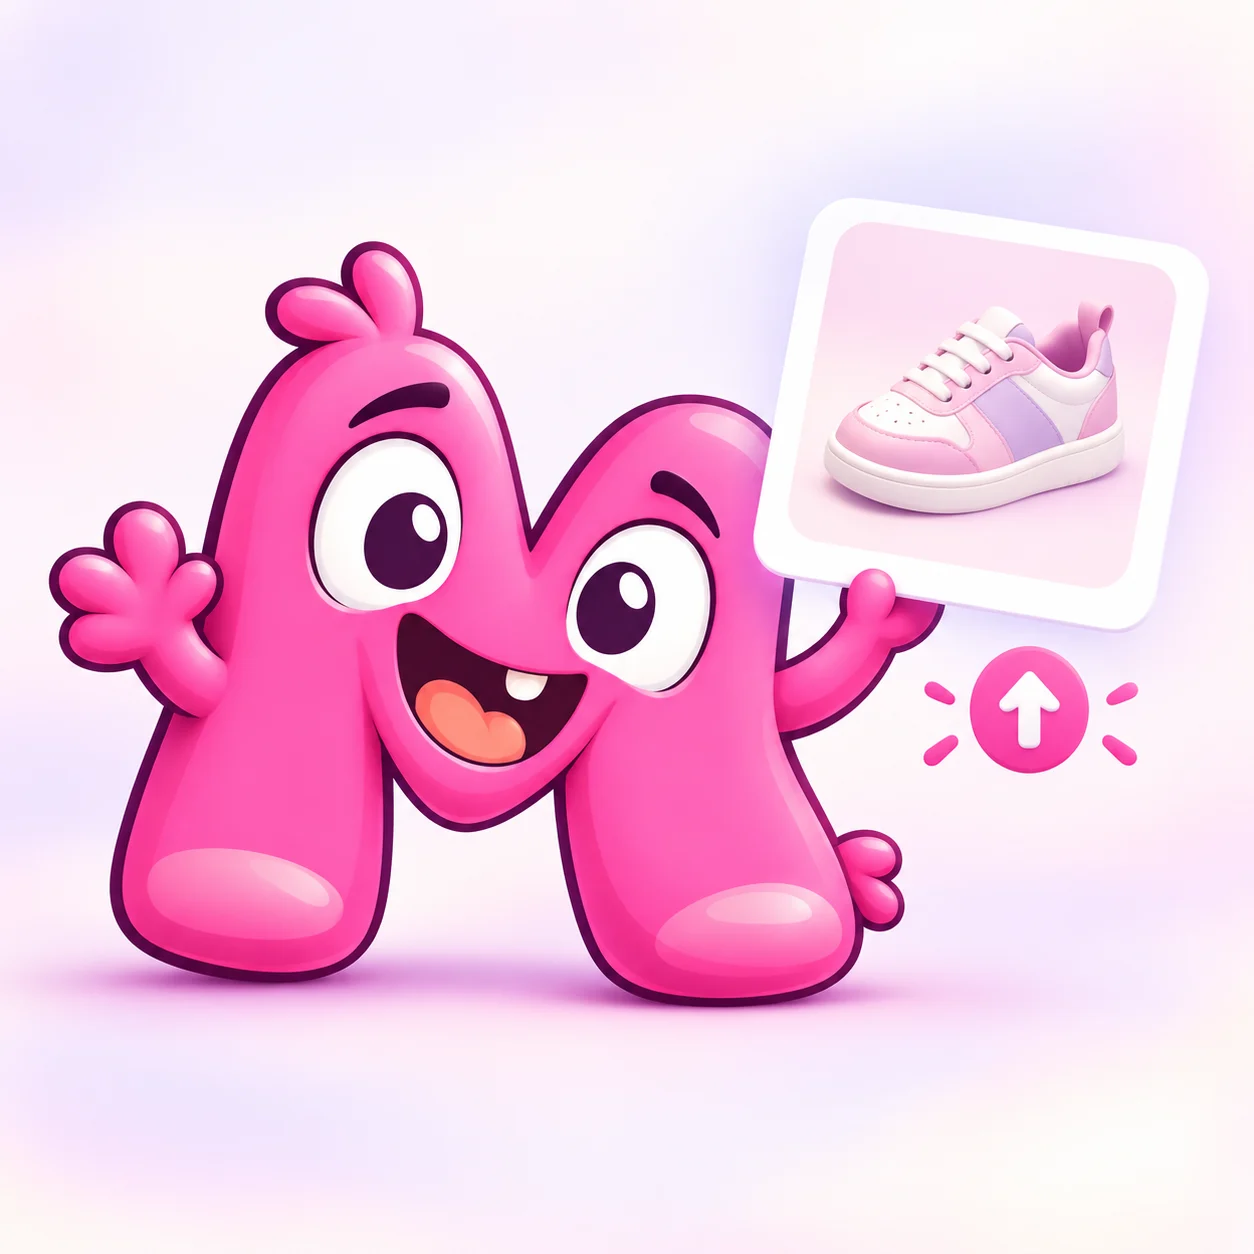
Use a sharp PNG, JPG or WebP with the whole object in frame.
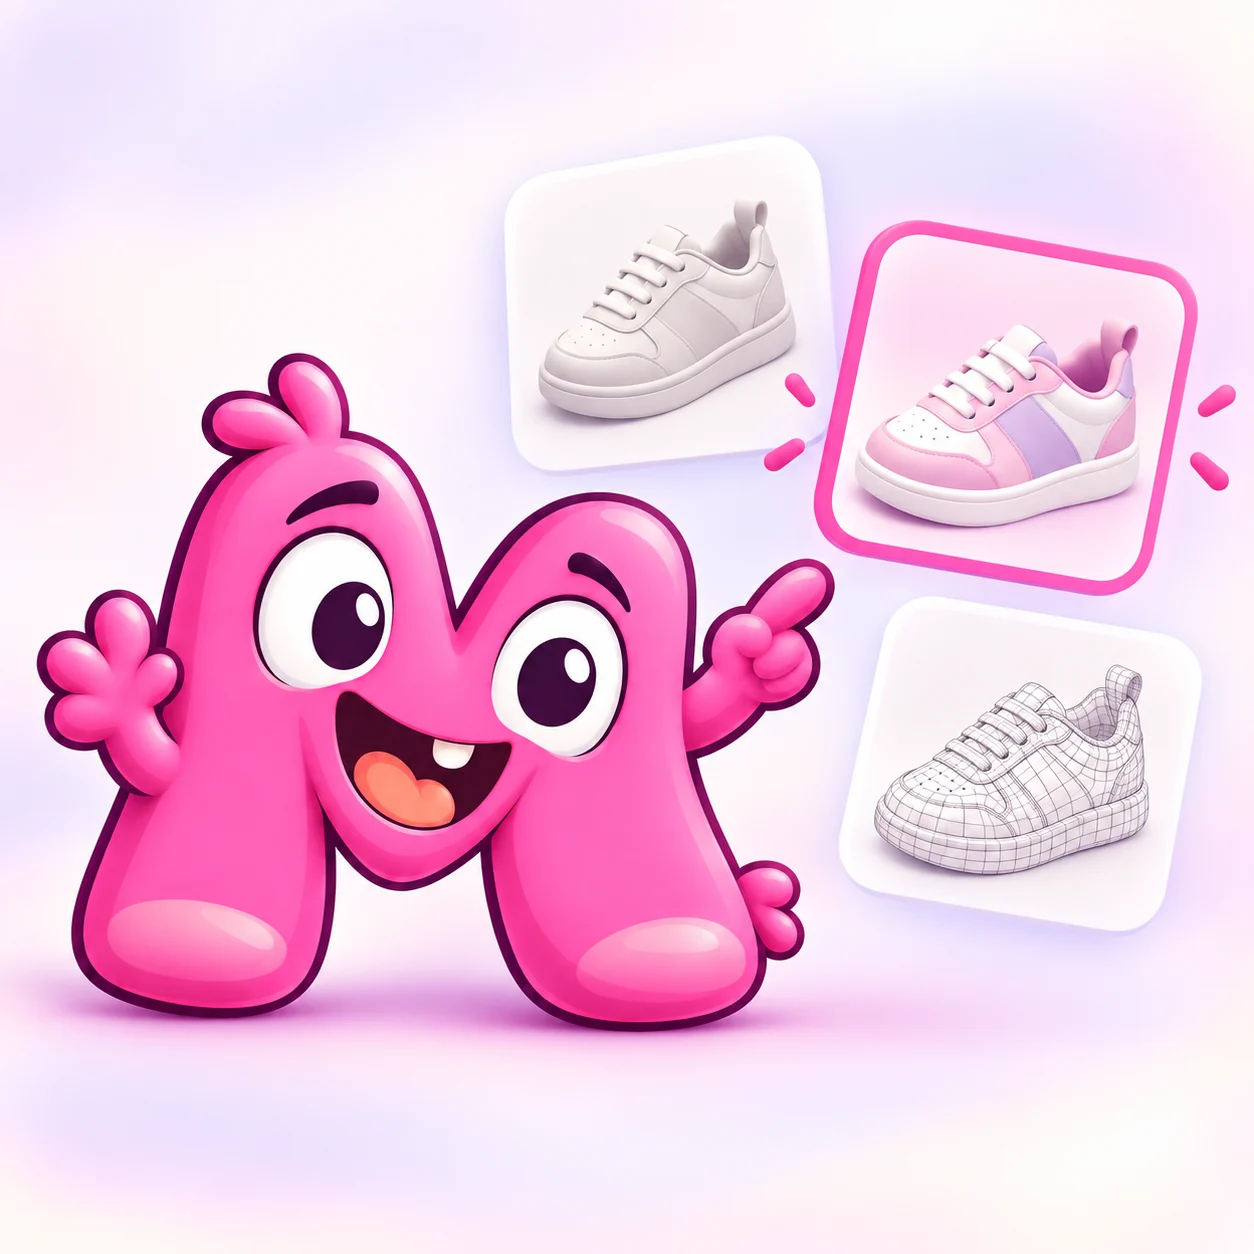
Choose the settings for your model, then generate.
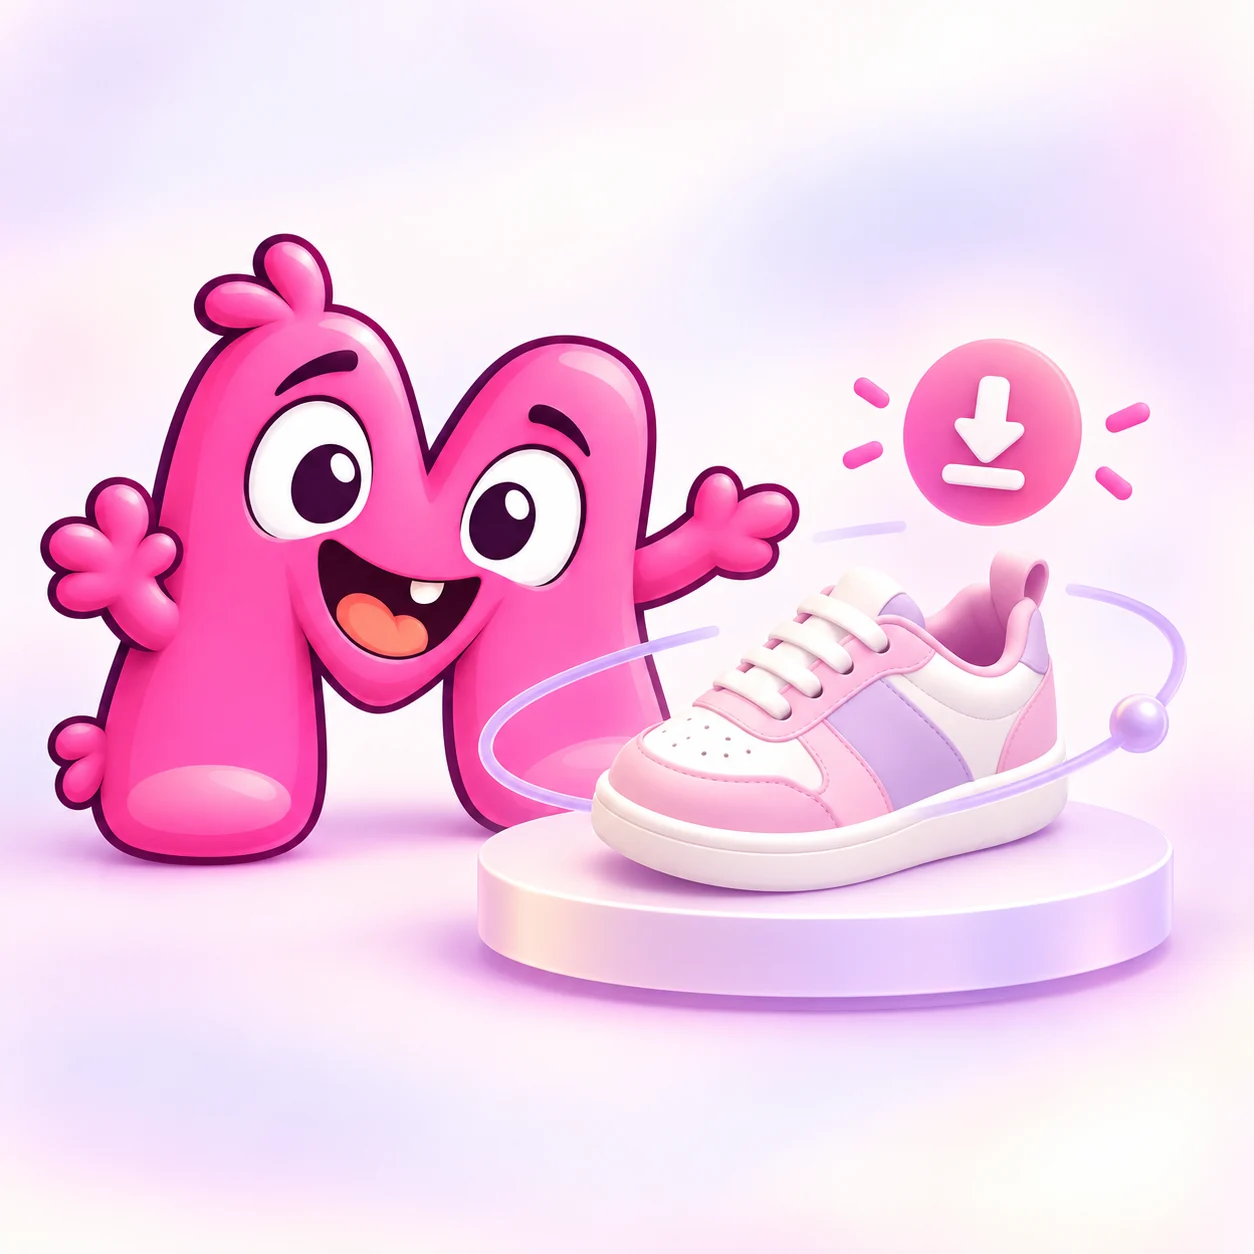
Rotate to check hidden sides, thin parts and texture seams. Download the files your job returns.
A complete outline and soft light help the model read your object.
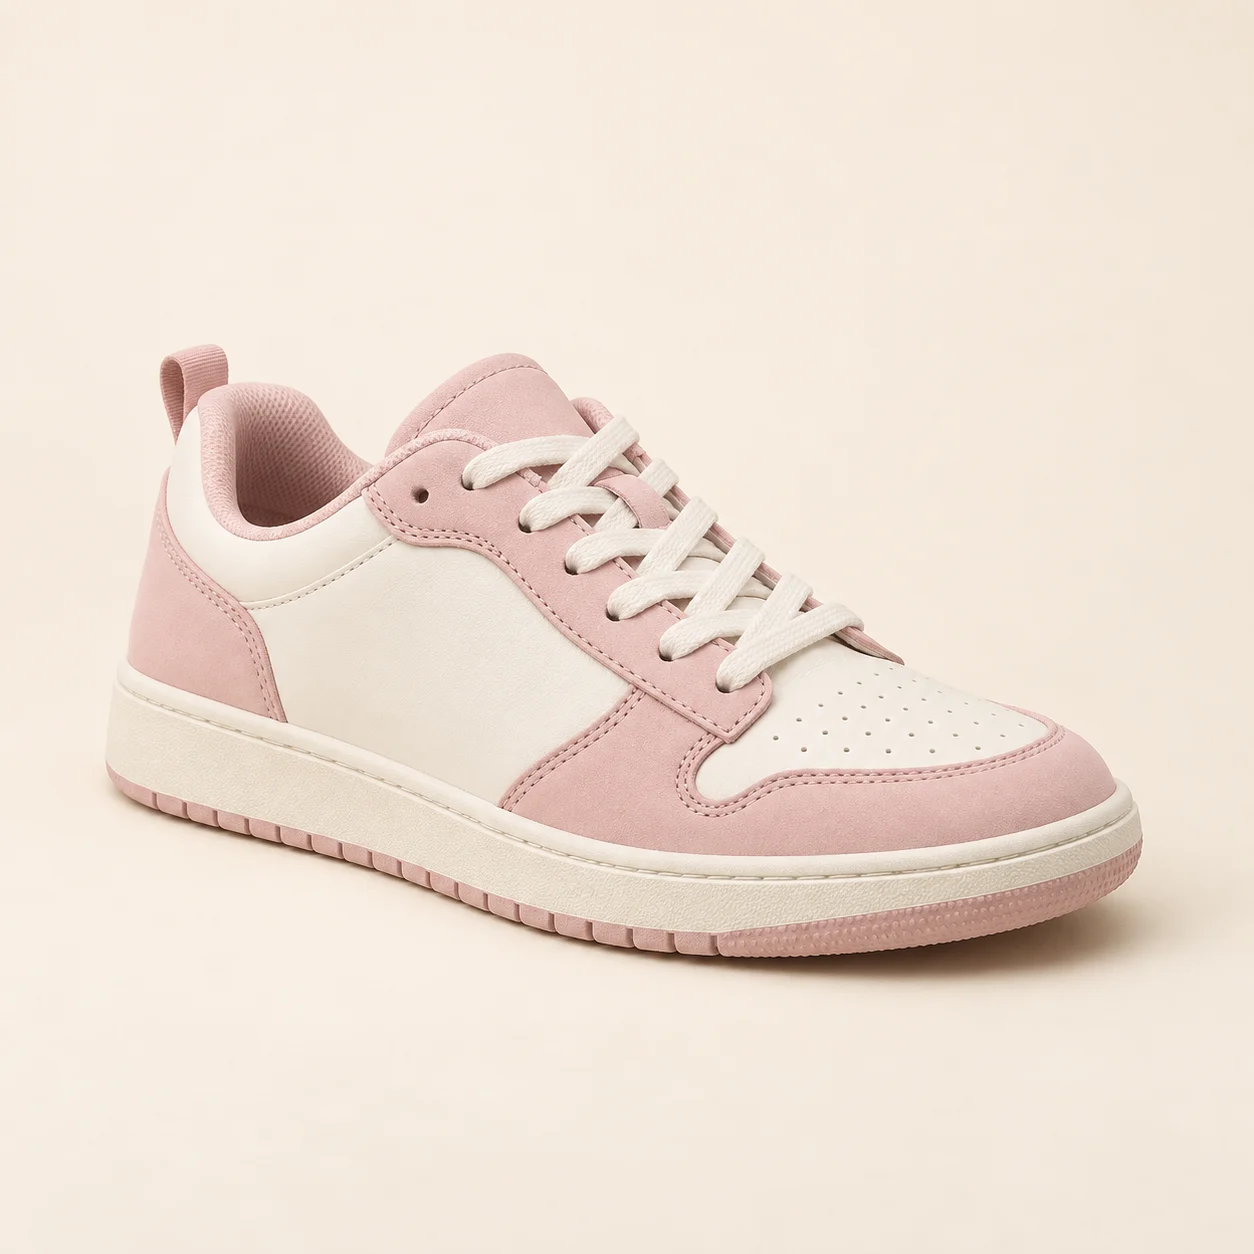
Leave room around the whole object. Reframe if any edge is cut off.
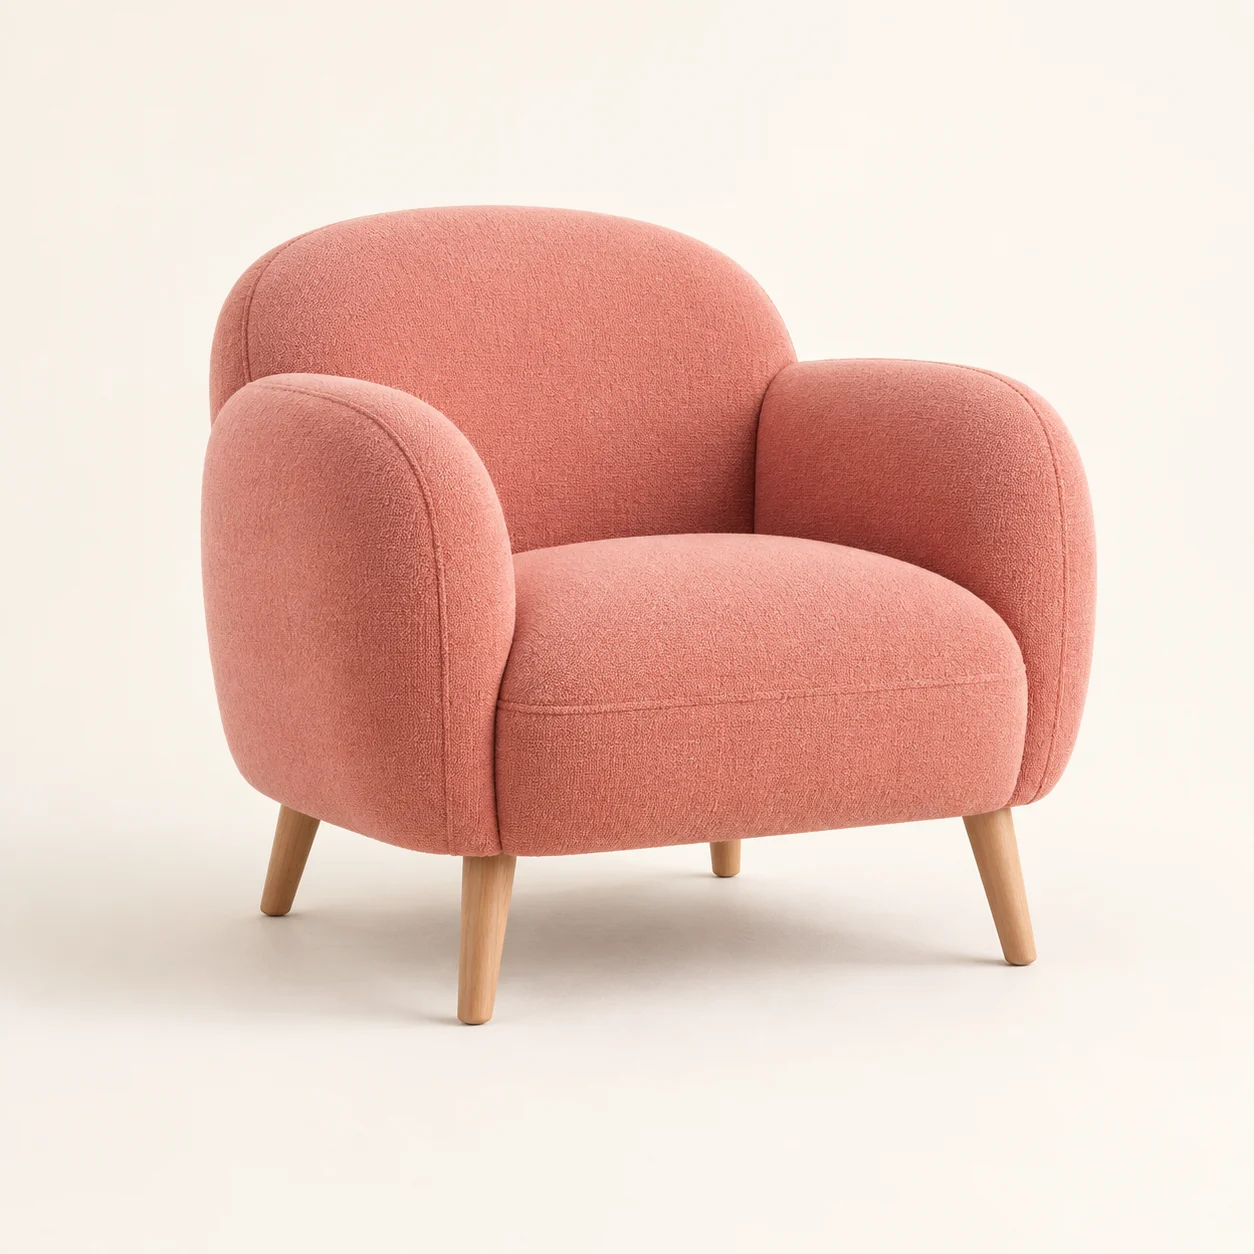
Use soft, even light so surface details stay visible.
Have a clean line drawing instead of a photo? Turn your sketch into a 3D model.
Upload a clear PNG, JPG, or WebP, choose a model, then generate. Rotate the result and download the files that job provides.
Yes. Verify your email to receive free credits and try supported models.
Confirmed failed or rejected jobs return reserved credits. Check pending jobs in History.
Use one sharp, fully visible object against a simple background. Keep light even; add views if hidden sides matter.
The result panel lists the files actually returned by your selected model and job. If you need OBJ or STL and it is not returned, use a separate conversion workflow and inspect that output before editing or printing.
No. A single reference cannot show hidden surfaces, so those areas are inferred and should be treated as draft geometry.
One photo only shows the visible side. Check the back and seams in the 3D preview; use more views or edit the texture if needed.
Choose the next task based on your source image, intended output, or model budget.
Prepare, generate, inspect, and export.
Add views when the hidden sides matter.
Review product form and materials.
Prepare geometry for 3D printing.
Continue with a static mesh workflow.
Open and check your exported file.
Compare real Quady3D inputs and results across image, text, sketch, and multi-view workflows.
No usable reference image? Describe the object instead.
Explore the model used for the knight examples.
Find the model that fits your job.
Check current generation costs.
