










Quady logo relief
80 × 80 mm · 2.5 mm relief · 2 mm base

The Quady logo on an 80 mm square plaque. Try the sample above to adjust size and depth.
Turn a photo, logo or drawing into an STL file. Choose a raised relief for flat artwork, or a full 3D object for a model you can view from every side.
Make a raised surface from image brightness, with a solid rectangular base. Upload an image or try the Quady sample.
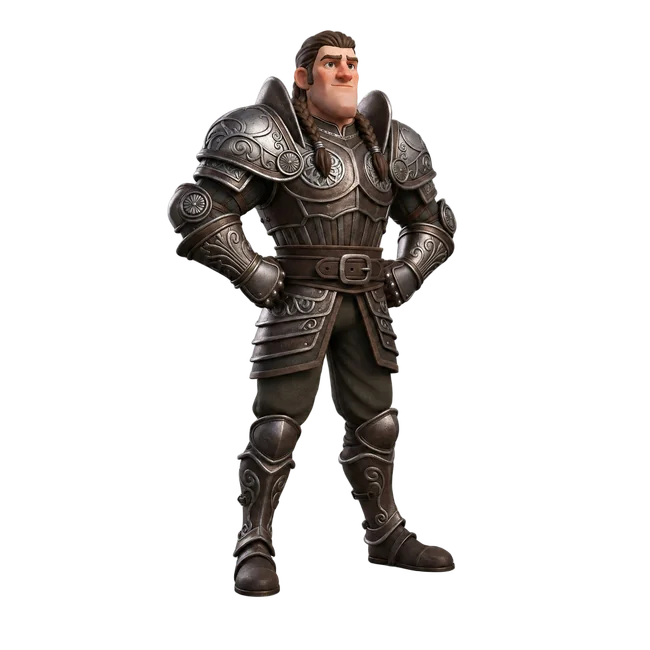
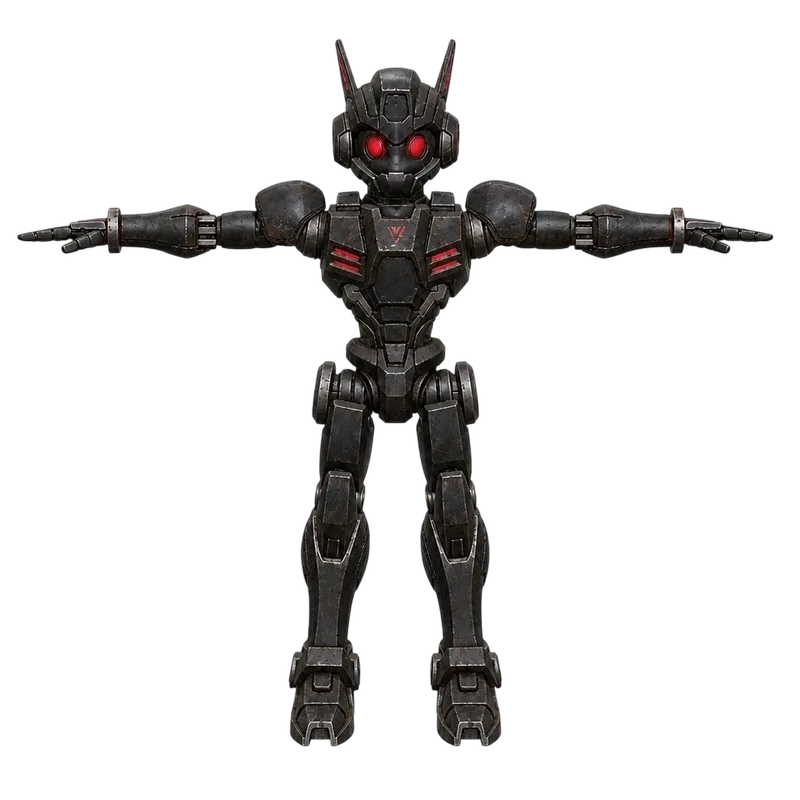
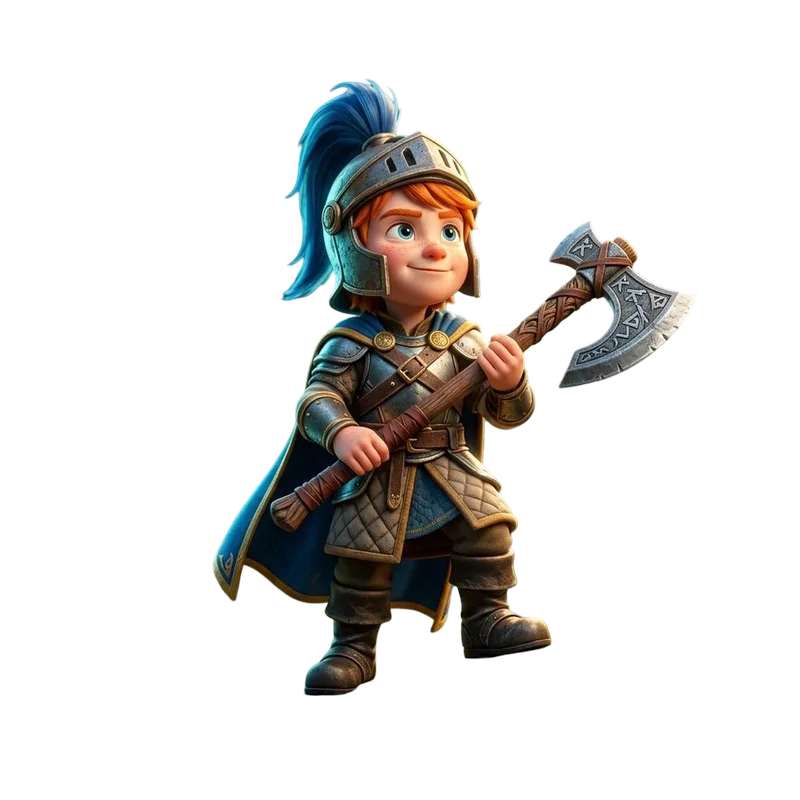
Compare each source image with its STL. Load a result to rotate it, or download the file.
80 × 80 mm · 2.5 mm relief · 2 mm base
The Quady logo on an 80 mm square plaque. Try the sample above to adjust size and depth.
Tripo H3.1 · 80 mm longest dimension
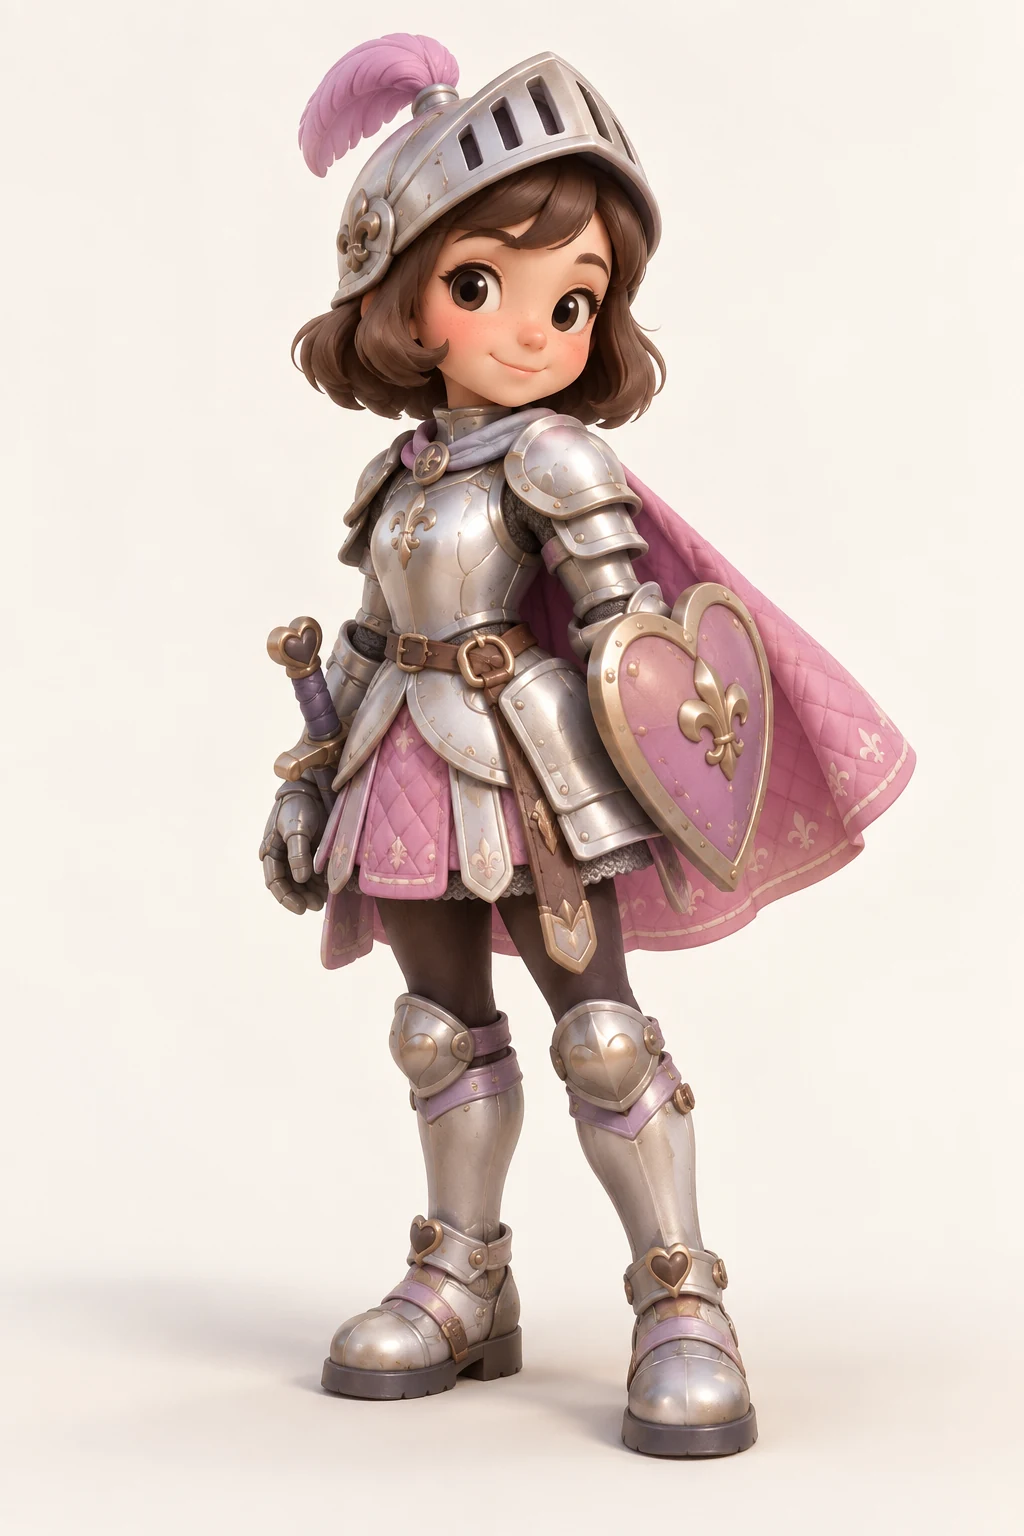
This character was generated from the shown image, then converted to STL. Inspect the cape, shield and hidden surfaces before printing.
STL contains shape, without colors or textures. Check these files in your slicer before printing.
Use Raised relief for a plaque or embossed picture. Choose Full 3D object for a figurine, sculpture or prop with depth on every side.
For relief, use strong contrast and adjust depth, base thickness and size. For a full object, show the whole subject against a simple background, then select a generation model.
Rotate the result, confirm its dimensions and export STL. Open the file in your slicer to check layers, supports and small details before printing.
Lighter areas rise higher by default. Invert depth to swap raised and recessed areas. Use a tightly cropped image with clear shapes and strong contrast.
For a photo intended to be lit from behind, explore image to lithophane.
Use one centered subject with a clear outline. Image-to-3D AI estimates the unseen sides; a photo does not supply exact dimensions or a verified printable shell.
Have several views of the same object? Try multiple images to 3D. Learn how to prepare a reference in the image to 3D tutorial.
Prefer to start with text? Try the AI STL generator.
A relief is a picture raised on a backing plate. For a figurine with a back and sides, choose Full 3D object above. AI estimates the parts your image does not show.
Photo grain and sharp brightness changes become bumps. Crop closer, start with a cleaner image and reduce relief depth. Simplify tiny details that disappear in the preview.
Relief keeps a rectangular base, even for transparent PNGs. For a logo with an open outline, use logo to STL instead.
An STL preview shows the shape. Your slicer determines how that shape will print.
Confirm millimeter dimensions and the thinnest areas. Small features may need thickening for your printer and material.
Look for holes, separate pieces and overlapping surfaces. Repair them in a slicer or 3D editor before printing; downloading STL does not repair the model.
Choose a stable orientation and inspect layer previews for missing details, overhangs and contact with the print bed.
For the next steps, follow the AI 3D printing guide.
A relief turns image brightness into height on a rectangular base. For a figurine or another complete object, choose Full 3D object: AI generates the mesh first, then you prepare its STL. Hidden sides are inferred and may need editing.
Raised relief conversion, preview and STL download run in your browser without an account or generation credits. Full 3D object generation uses credits; check the selected model's cost in the workspace before generating.
Picture to STL conversion accepts PNG, JPG, JPEG and WebP images up to 8 MB for reliefs. Clear shapes and strong contrast work best. For AI generation, follow the image requirements shown by your selected model.
No. This STL export contains geometry, not image colors or textures. Relief height comes from brightness. Keep the original GLB if you also need the textured AI model.
For a relief, set width, relief depth and base thickness in millimeters before downloading. The height follows the image's proportions. STL does not store a unit label, so confirm the dimensions in your slicer. The Full 3D object workspace has separate print-size controls.
No. Check closed surfaces, wall thickness, overhangs and contact with the print bed. Open the file in your slicer and inspect its layers before printing. AI-generated objects can require mesh repair or thicker small parts.