Upload a clear image
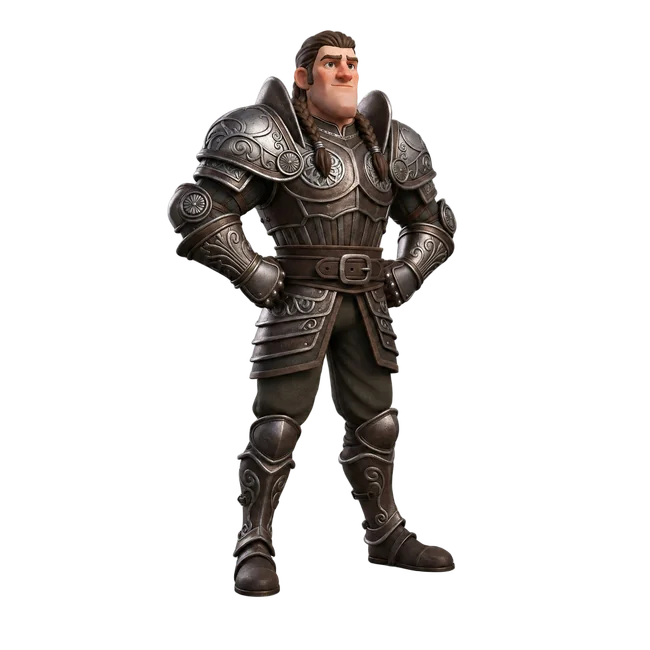
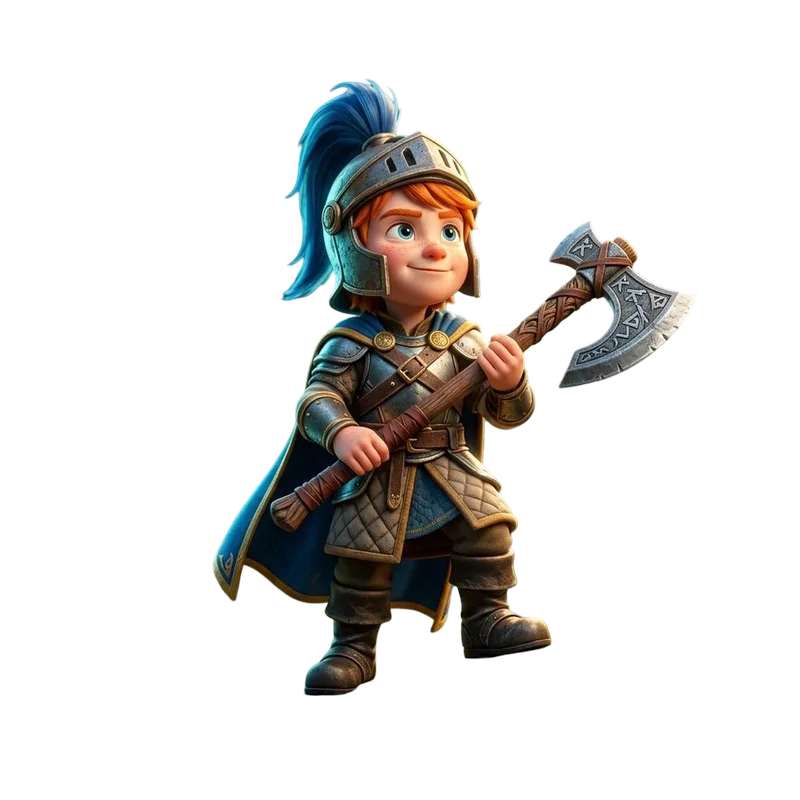
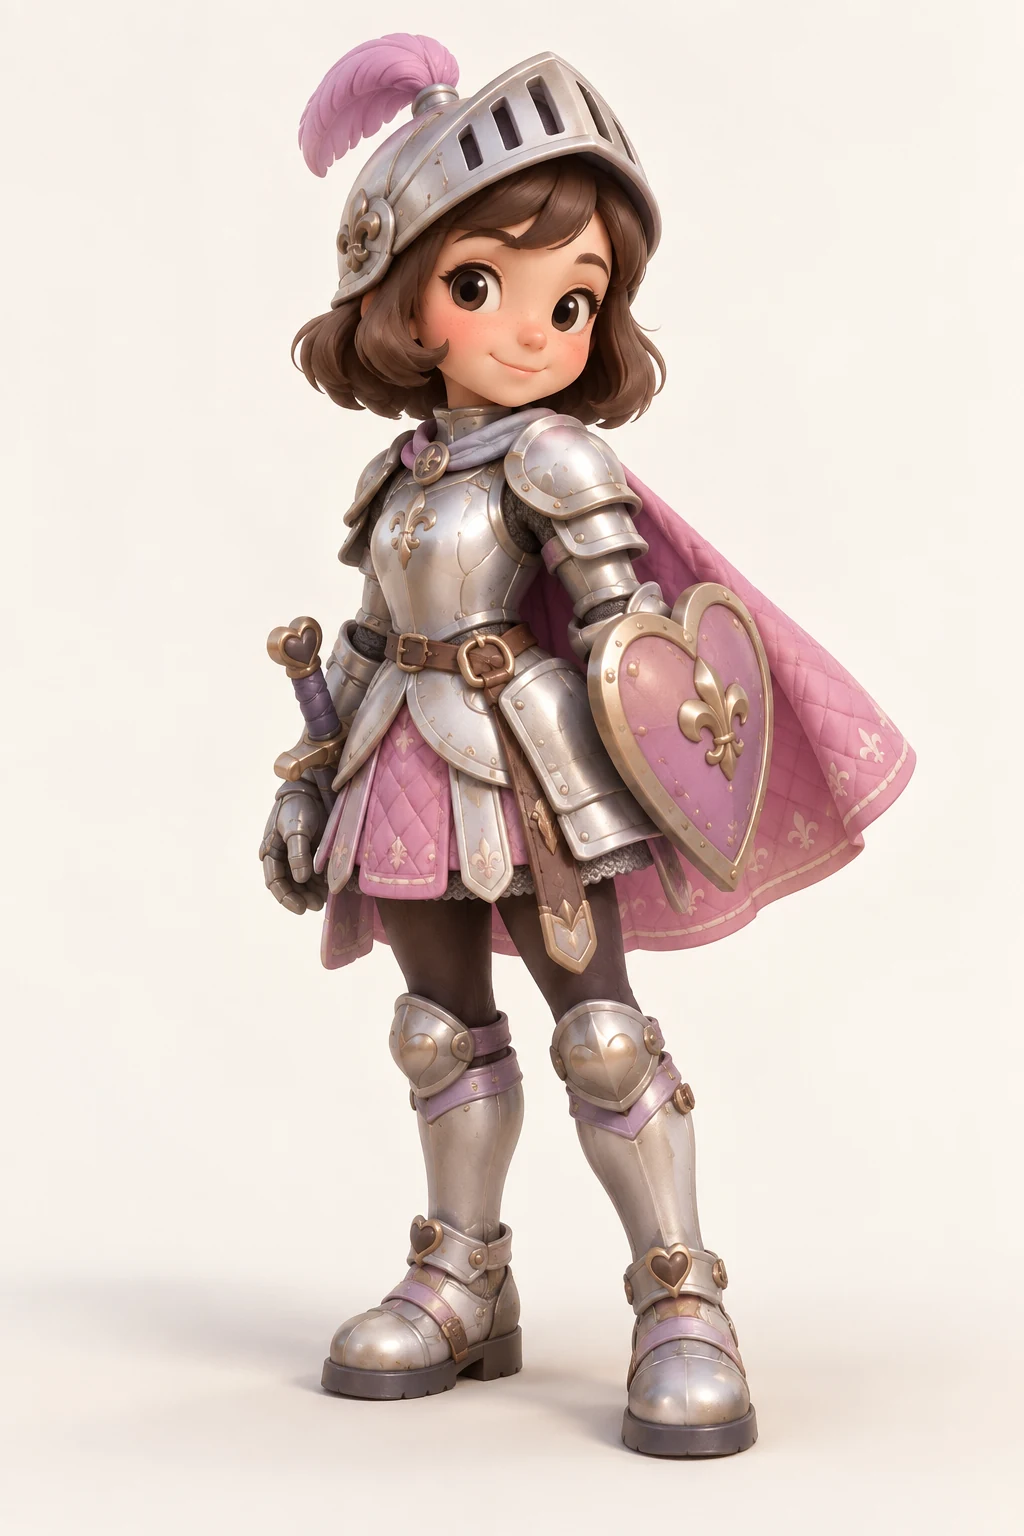
Choose a sharp picture of one complete subject. Upload it in the Image to 3D workspace.
- Keep the entire subject in frame.
- Use one sharp PNG, JPG, or WebP with a simple background.
Actual inputUpdated September 2026
Start with one clear photo or illustration. Upload it, choose a model, generate a draft, then rotate the result and download the returned file. The four steps below follow a recorded input and result.
Input
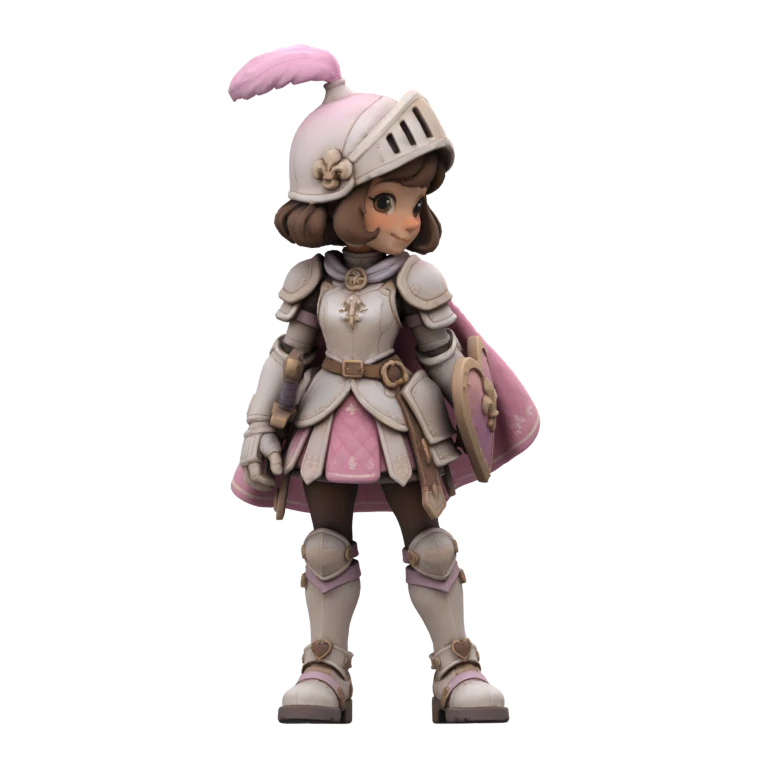
ResultFollow one recorded input through four visible steps. The source and generated preview come from the same run; the workspace screenshot shows where to select its model and image.
Choose a sharp picture of one complete subject. Upload it in the Image to 3D workspace.
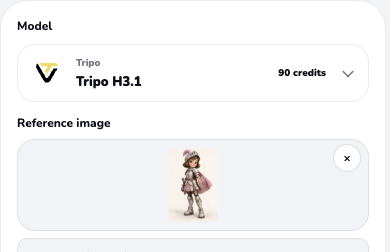
Actual inputSelect a model and only the settings you need. Check the live credit cost before you generate.
Workspace screenshotSubmit the image and wait for the job to finish. Review the result rather than assuming every surface matches the photo.
Actual input
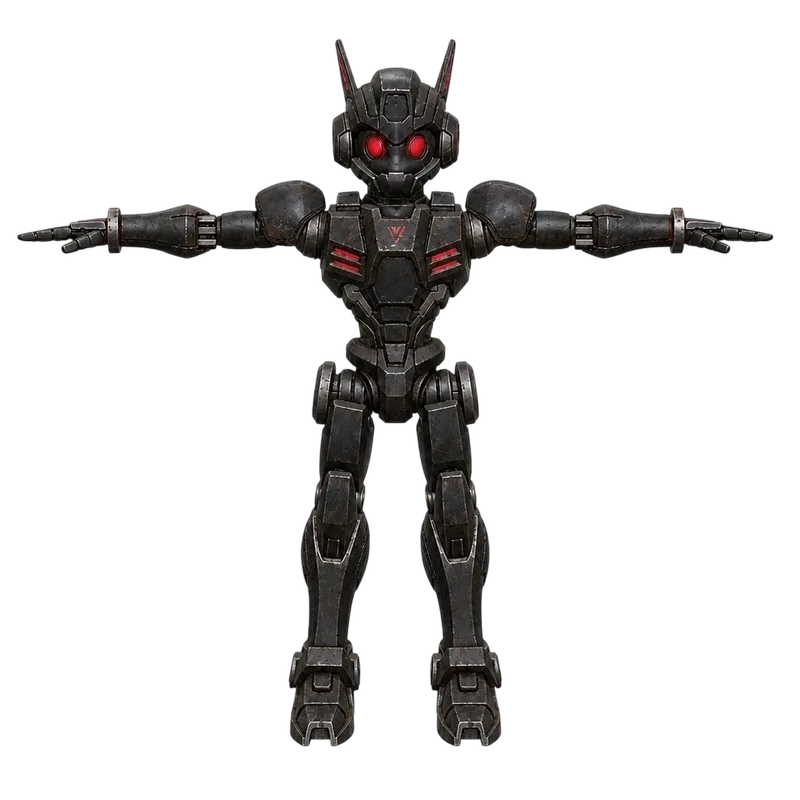
Generated resultRotate the 3D result, check the back and thin parts, then download a file your job actually returned.
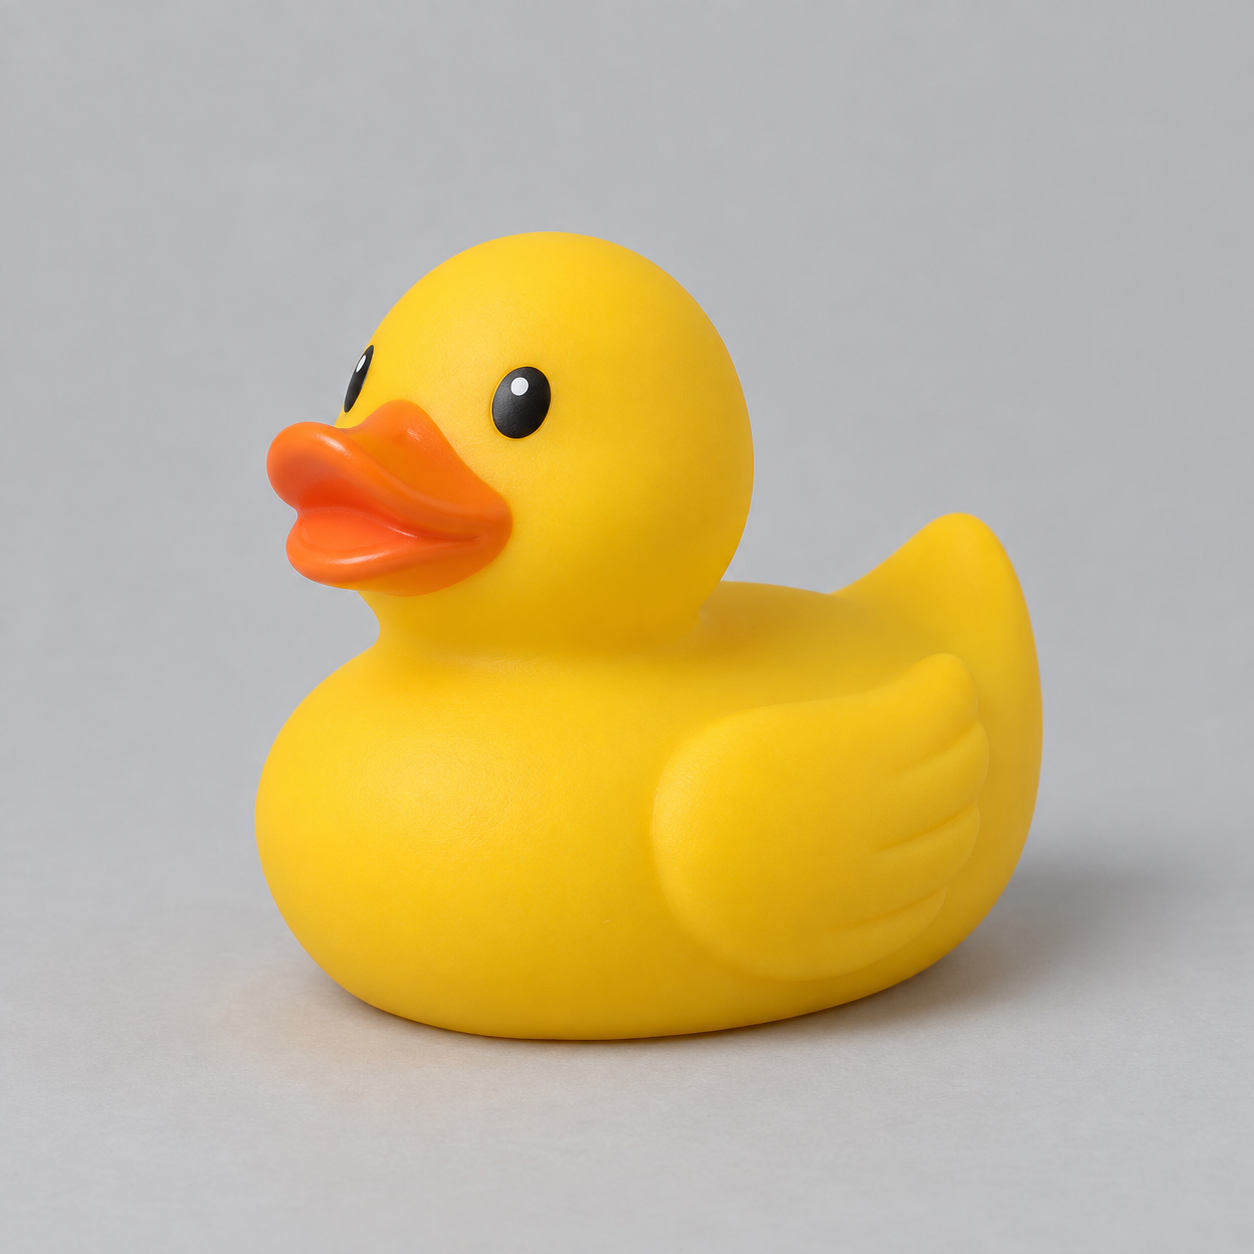
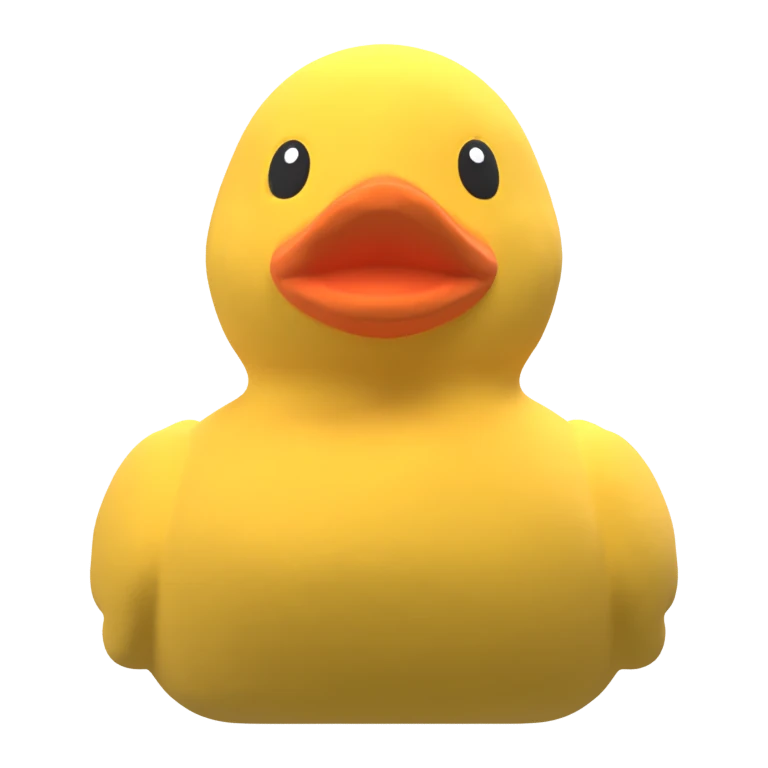
Generated resultThe four steps above follow a knight illustration. For this separate example, we generated a clean reference image of a yellow rubber duck, uploaded it in the Quady3D workspace, and converted it with Tripo H3.1. Compare the beak, wing, and tail, then rotate the returned 3D model to inspect the surfaces missing from the image.


Generated in Quady3D · Tripo H3.1 · One AI-generated reference image
The beak, eyes, near-side wing, and raised tail are visible. The whole duck is inside the frame with a simple background.
Compare the beak opening, wing ridges, and tail first. Then rotate to the far side and underside: those surfaces are hidden or only partly visible in the input.
The input is an AI-generated image, not a camera photograph. The 3D result was generated from this exact image in the Quady3D workspace. This is one recorded result, not a measurement-accurate scan; hidden surfaces and size are inferred. See model details.
Match the model to your task instead of choosing by price alone. The workspace shows supported settings and the current credit cost before submission.
For an early draft, prioritize a readable silhouette and plausible missing surfaces. Check each model's supported inputs and controls before spending credits.
Browse available modelsThe four-step knight example uses Tripo H3.1 with texture enabled. Inspect color placement and hidden surfaces as carefully as the front.
See the example modelCheck topology and returned files before editing. For Blender, review the mesh and textures after import.
Continue in BlenderWhen you create a 3D model from a photo, start with one clear view of the real object. The model still has to infer hidden surfaces, so show the features that define its shape instead of relying on resolution alone.
Show all feet, handles, openings, and other defining parts. A cut-off part gives the model too little shape information.
Avoid harsh shadows and bright glare. Reflections on shiny surfaces can be mistaken for color or geometry.
A three-quarter view usually reveals the front and a side. If the back matters, add a separate view rather than expecting one photo to show it.
Use a plain background and keep hands, stands, and nearby objects away from the outline.
A regeneration is most useful when you change a specific source problem instead of repeating the same request.
Look for cropped, thin, occluded, or low-contrast regions and try a clearer view.
Remove overlapping scenery, hands, stands, cast shadows, and nearby objects from the source.
Check source sharpness and lighting, then compare another run with the same review criteria.
Glare and see-through edges hide the real outline. Try softer light and a simpler background, then inspect the generated shape closely.
The result panel shows the files available for your completed job. Download the returned model first, then check any converted file before using it elsewhere.
A compact choice for web viewing and sharing a textured model when the job returns one. Rotate it to inspect the complete shape.
Useful for mesh cleanup in Blender. Check any accompanying material and texture files after export.
Blender workflowSTL stores geometry, not color. Confirm scale, closed surfaces, and thin parts before slicing.
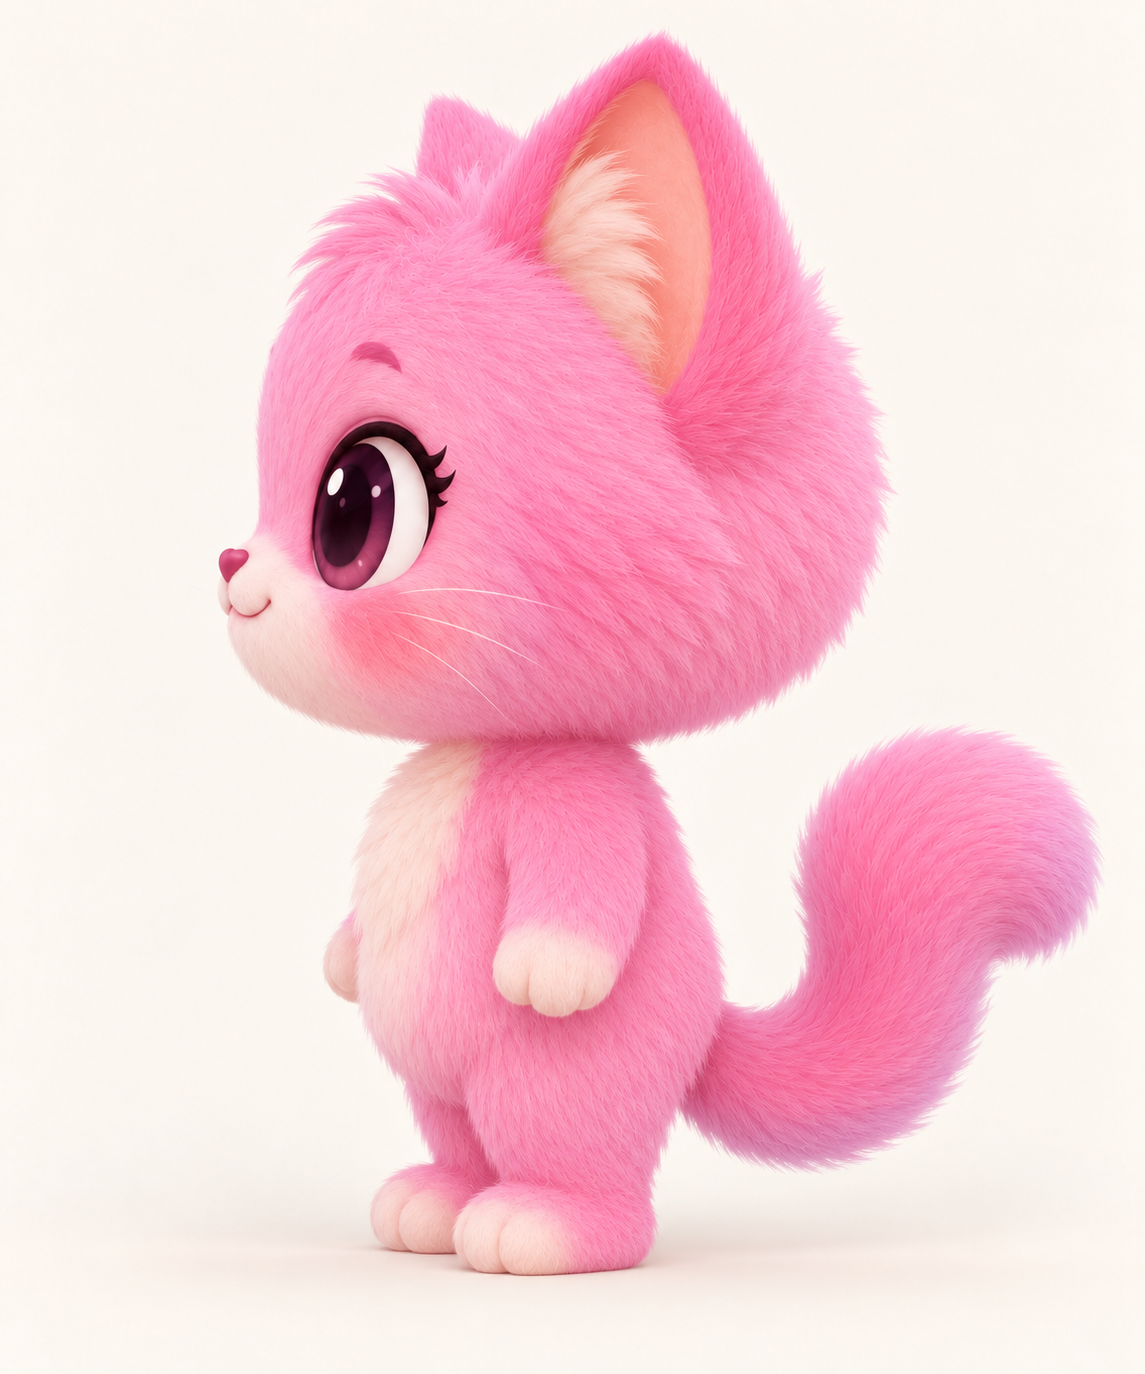
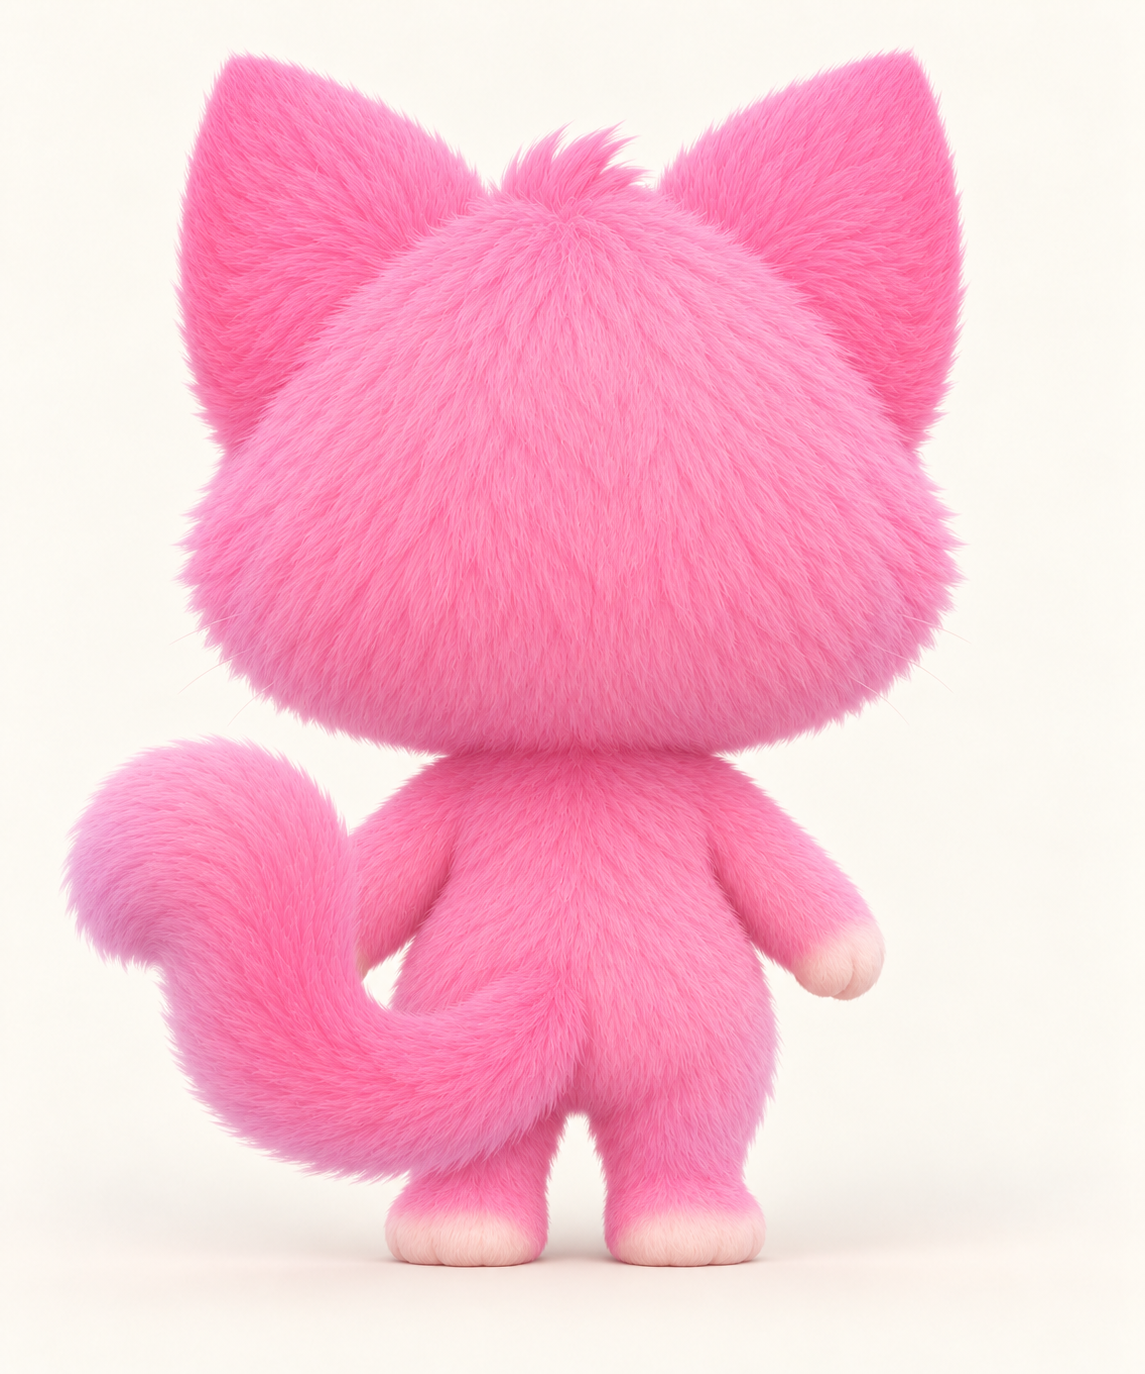
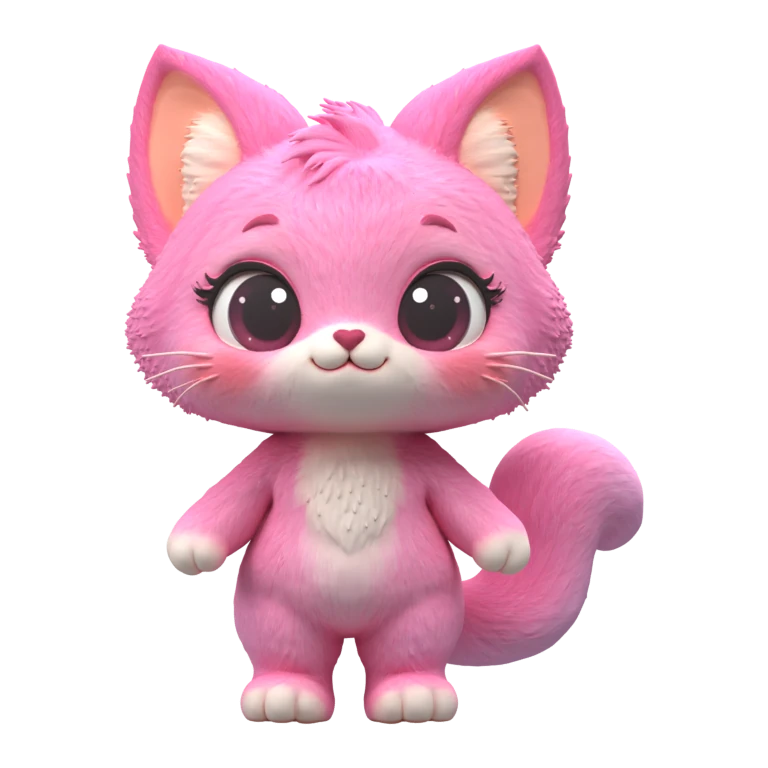
Prepare an STLIf the back, sides, or asymmetric details matter, prepare distinct views of the same subject. These front, side, and back views of our pink kitten were used to make the 3D result below. Check the selected model for its exact image count and order before uploading.
Start with a clear front and side. Add the back or opposite side when it reveals a surface the first views cannot show.
Keep framing, lighting, background, and the object's pose similar across photos or renders. If the output changes shape or texture between sides, replace the blurry or conflicting view before rerunning.


Three views of one kitten · made with Tripo H3.1
Rotate the model to compare the ears, cream chest, and curved tail with the reference views.
Recording your object instead of taking separate photos? Extract clear views from a short video, then keep complementary frames for multi-image generation.
Use the multiple images to 3D workflowStart with a well-framed reference, compare the available models, and check the live credit cost before you generate. Rotate the returned model to inspect hidden surfaces before downloading a file. Use only source images you have the right to process.
Use one sharp photo of a complete subject with a simple background, then upload it, choose a model, generate, and inspect the returned mesh from all sides. A single photo cannot measure hidden geometry. If you need more faithful coverage, use consistent views of the same object; for measured reconstruction, use a dedicated photogrammetry workflow.
Not for every image. Start with a clear subject and simple background. If scenery, cast shadows, hands, or nearby objects appear in the mesh, make a cleaner crop or cutout before rerunning.
No. The model has to infer surfaces the camera could not see. Rotate the result to review those guesses, or use consistent front, side, and back references in the multiple-images workflow.
Commercial use is allowed only when you have the necessary rights to your source material and comply with the terms of the model used for the job. Quady3D does not guarantee exclusive ownership or that generated output is non-infringing.
Occlusion, ambiguous silhouettes, thin parts, and unseen surfaces can produce holes. Try a clearer image and inspect the complete mesh.

See more real inputs and results, choose the single-image workflow, or read why one picture cannot describe every surface.