










Turn an image into a 3D model
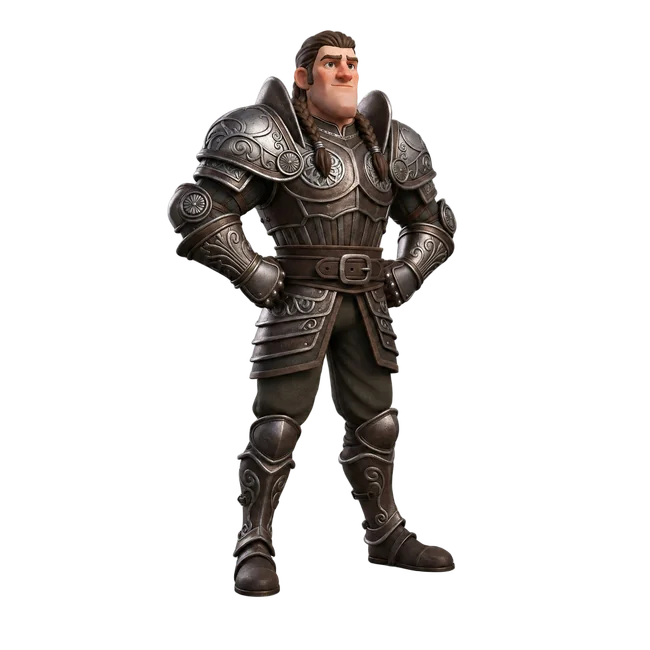
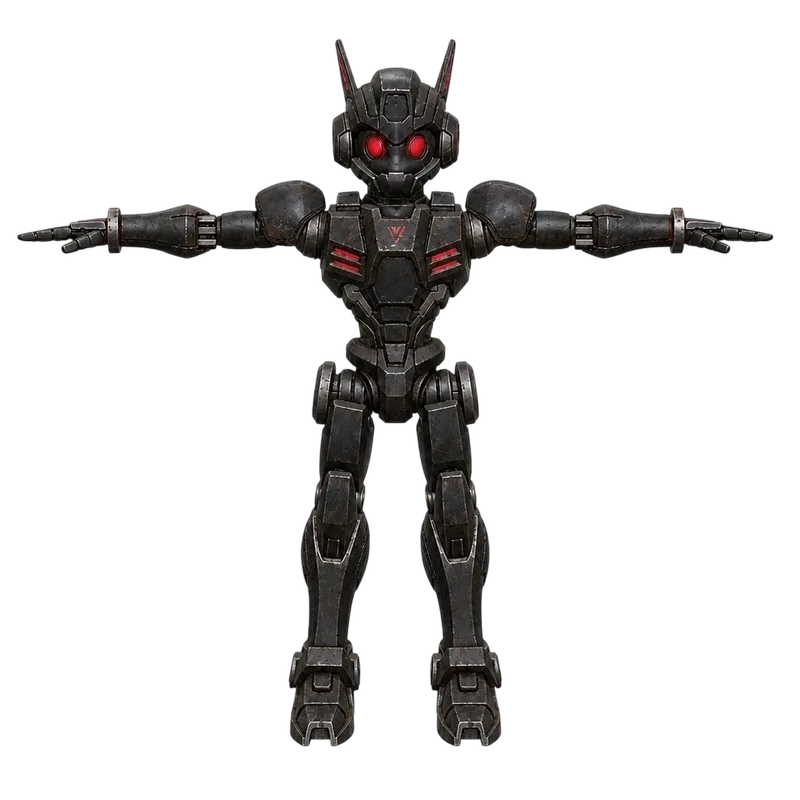
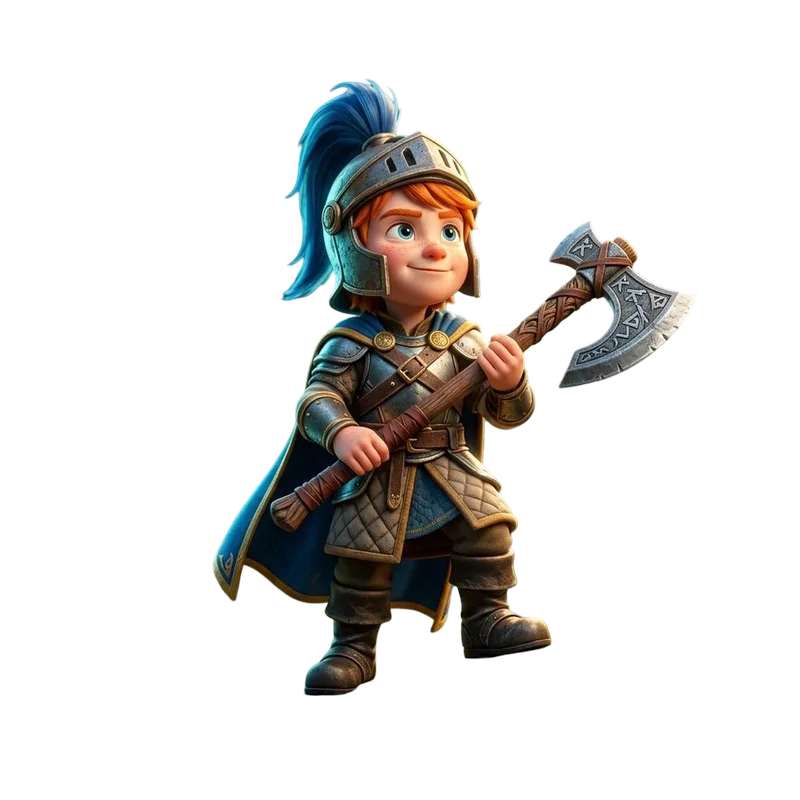
Follow a real character example from reference images to a model you can rotate and download.
Read the guide →Choose a reference, generate a model, and check what you have made. These AI 3D tutorials use real Quady3D cases to explain the steps from your first image to a downloadable asset.
Follow a real character example from reference images to a model you can rotate and download.
Read the guide →See what the image tells the AI, why unseen sides are predicted, and how a mesh differs from a picture.
Read the guide →Extract sharp views of one object locally, then choose an image or multi-view generation workflow.
Read the guide →Inspect two results from the same camera image. Compare geometry, texture, settings, and the delivered files.
Read the guide →Follow the cup example through mesh review, physical size, STL preparation, and slicing.
Read the guide →Inspect an actual cottage file and plan geometry, materials, scale, and import into your game engine.
Read the guide →Start with one clear image of one object. Use multiple views when you can show its other sides.
Open the workflow →Describe the subject, shape, and material. Use the prompt guide when you need an editable starting point.
Open the workflow →Use a readable silhouette and separated parts to guide the model’s shape.
Open the workflow →Review the back, underside, and thin parts. A convincing front view can hide missing or invented surfaces.
Reopen it in the 3D model viewer. STL contains geometry; GLB can also carry materials and textures.
Follow the Blender workflow, game asset guide, or 3D printing workflow to check scale and delivery requirements.
No. Model-specific facts are labeled, while general inspection and file-format guidance remains portable.
Begin with Image to 3D and the getting-started guide, then inspect the returned model before exploring specialized workflows.
Version-sensitive model and pricing claims are dated and should be rechecked after major releases.