










Transparent PNG to a logo relief
80 × 80 mm · 2.5 mm relief · 2 mm base

The transparent area stays flat on the square base. The PNG's brightness creates the raised design; this is a relief, not a cut-out.
Turn PNG artwork into a raised relief with a solid base. Set its size and depth, preview the shape and download STL for free. For a logo cut to its outline, use the separate logo tool.
Free relief conversion · Transparent pixels stay at the base level; the rectangular plate remains.
Compare the source with its relief. Load the 3D result to rotate it, or download the same STL.
80 × 80 mm · 2.5 mm relief · 2 mm base
The transparent area stays flat on the square base. The PNG's brightness creates the raised design; this is a relief, not a cut-out.
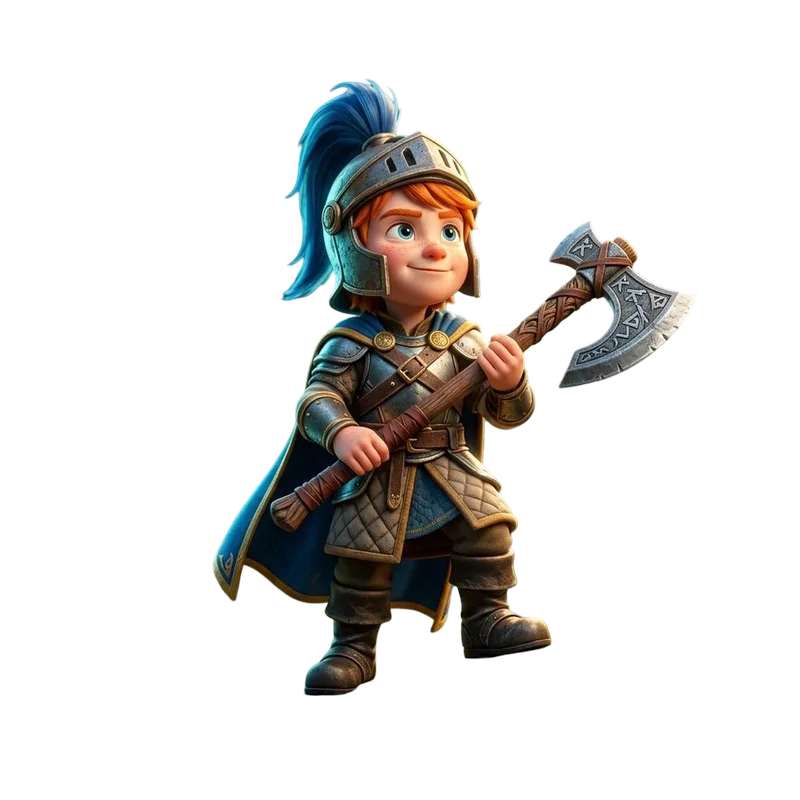
Use a clean logo, icon or drawing. Upload a PNG up to 8 MB, or try the transparent Quady sample.
Set the width, raised depth and base thickness in millimeters. Invert depth if the wrong areas are raised.
Rotate the result and inspect the edges and small features. Download STL, then check its size and layer preview in your slicer.
Empty margins still become part of the rectangular plate. Crop close to the artwork before uploading.
Fully transparent pixels stay flat. Faint colored edge pixels can still create a shallow rim; inspect the boundary before downloading.
Brightness controls height. Clear, bold artwork reads better than tiny strokes or a design whose tones all look alike.
For a badge shaped around its outline, use logo to STL. Trace the PNG, inspect detached pieces and choose a backing plate if those pieces need joining.
Already have vector artwork? SVG to STL keeps the original paths.
For a subject with a back and sides, use the AI STL generator. AI estimates hidden shape; it does not get exact geometry from a flat image.
Compare the workflows on image to STL.
STL has no unit label. Interpret these coordinates as millimeters and confirm the width and thickness in your slicer.
Inspect thin strokes and steep height changes. Details visible on screen may be too small for your nozzle or material.
Place the flat base on the print bed and check the layer preview. STL carries shape, without the source image's colors.
Follow the 3D printing workflow for the next steps.
Add a PNG, set the width, relief depth and base thickness, then rotate the preview and download STL. Lighter pixels rise higher by default; Invert depth reverses that direction.
Yes. Relief conversion, preview and STL download run on your device without an account or generation credits. AI generation is a separate workflow with its own model cost.
Fully transparent pixels stay at the base level. This relief keeps a rectangular backing plate; it does not cut the model to the PNG outline. Use the logo-to-STL tool for traced cut-outs.
Faint pixels and color changes can become raised detail. Use a clean, tightly cropped PNG with clear contrast. For a cut-out, inspect the trace threshold and detached pieces in the logo tool.
No. STL stores the surface shape, without colors or textures. Brightness becomes relief height; color differences only matter through their brightness.
A relief does not reconstruct a back or hidden sides. Use AI image-to-3D generation for a complete object, then prepare its STL and inspect it in a slicer before printing.