





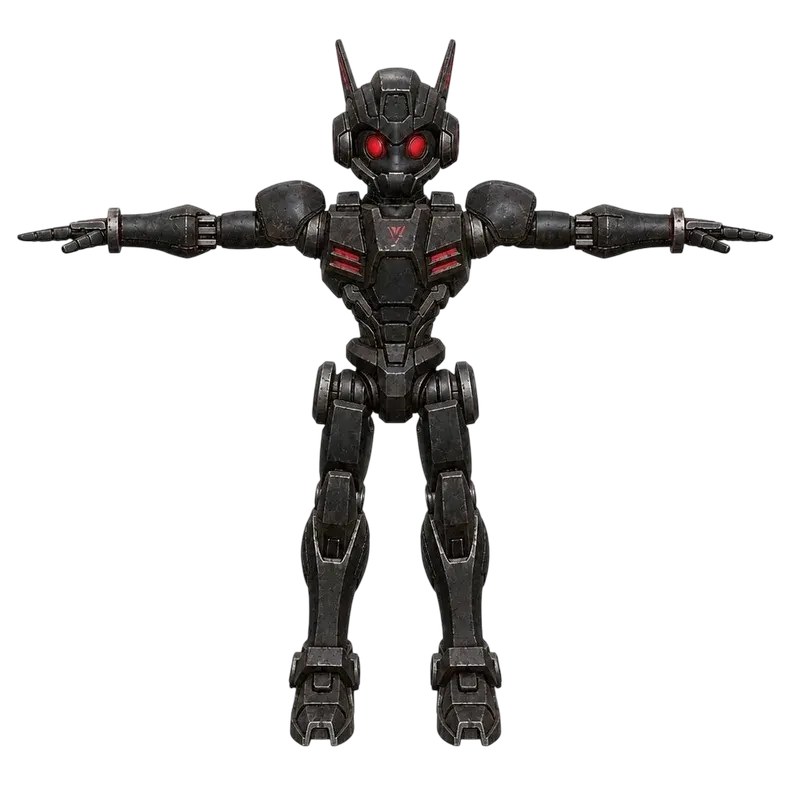








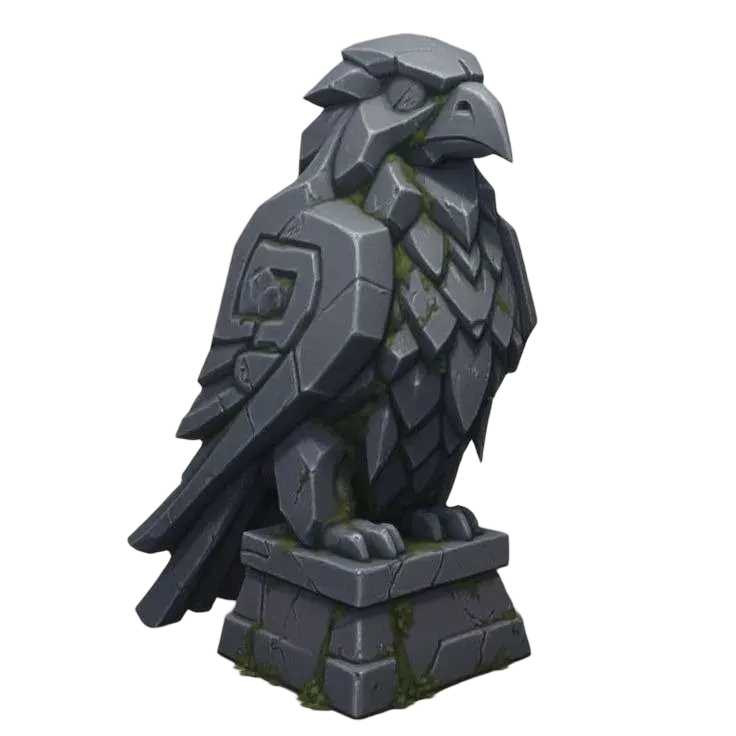
Inspect separate pieces
Break up an AI-generated prop or character and inspect the returned meshes individually. Use the parts view to see where the model was separated.
Separate an existing 3D model into mesh parts. Inspect the pieces before further editing or reusing them in Blender. See a saved example ↓
Upload a model, choose an example, or select a model from History.
Upload a supported file or load the robot or character example. Select a processing model that accepts your format.
Choose the general detail level or available character template. Check the displayed credits before starting the task.
Review the returned model in the parts view. Check the boundaries and export supported output for your next editing step.
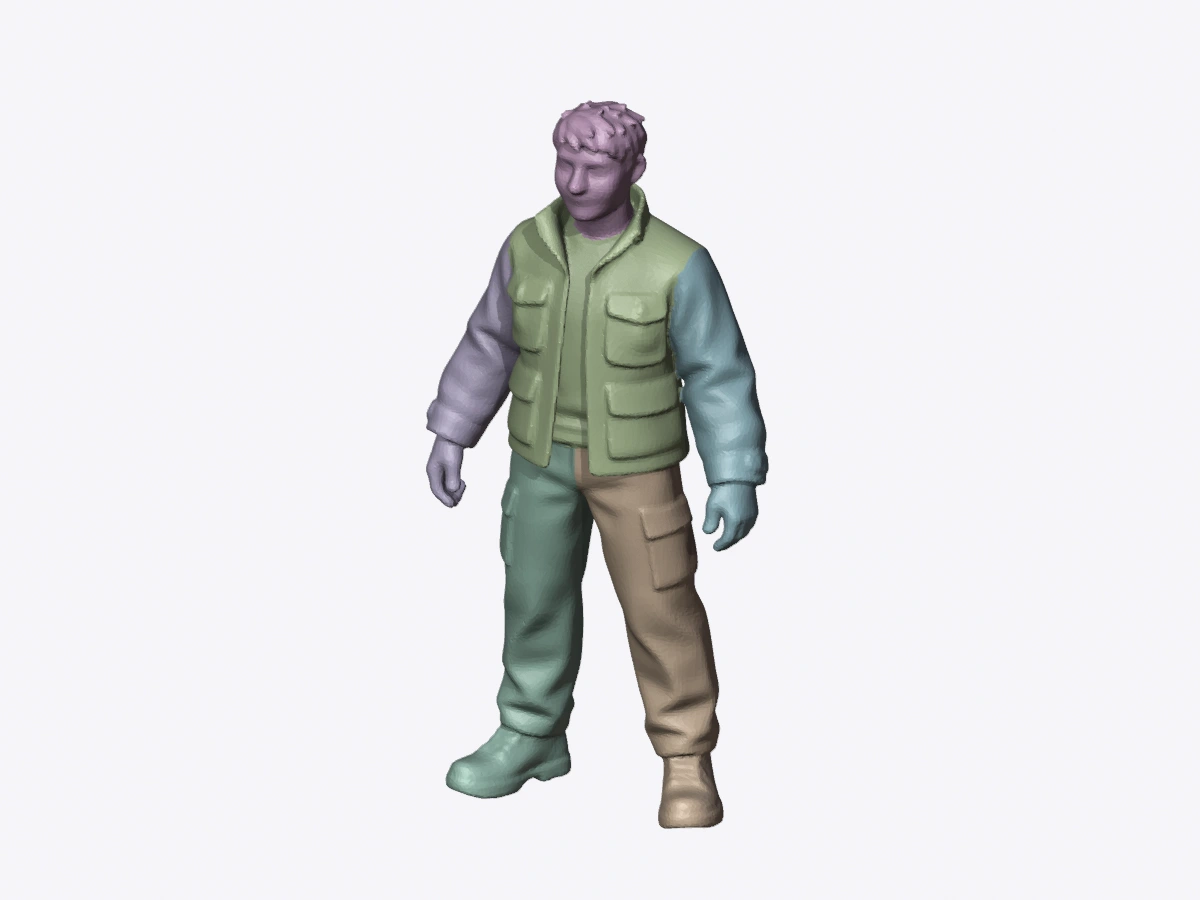
Inspect a robot separated into twelve meshes and a character separated into six body regions. Display colors identify the returned pieces so you can review the boundaries before editing in Blender.
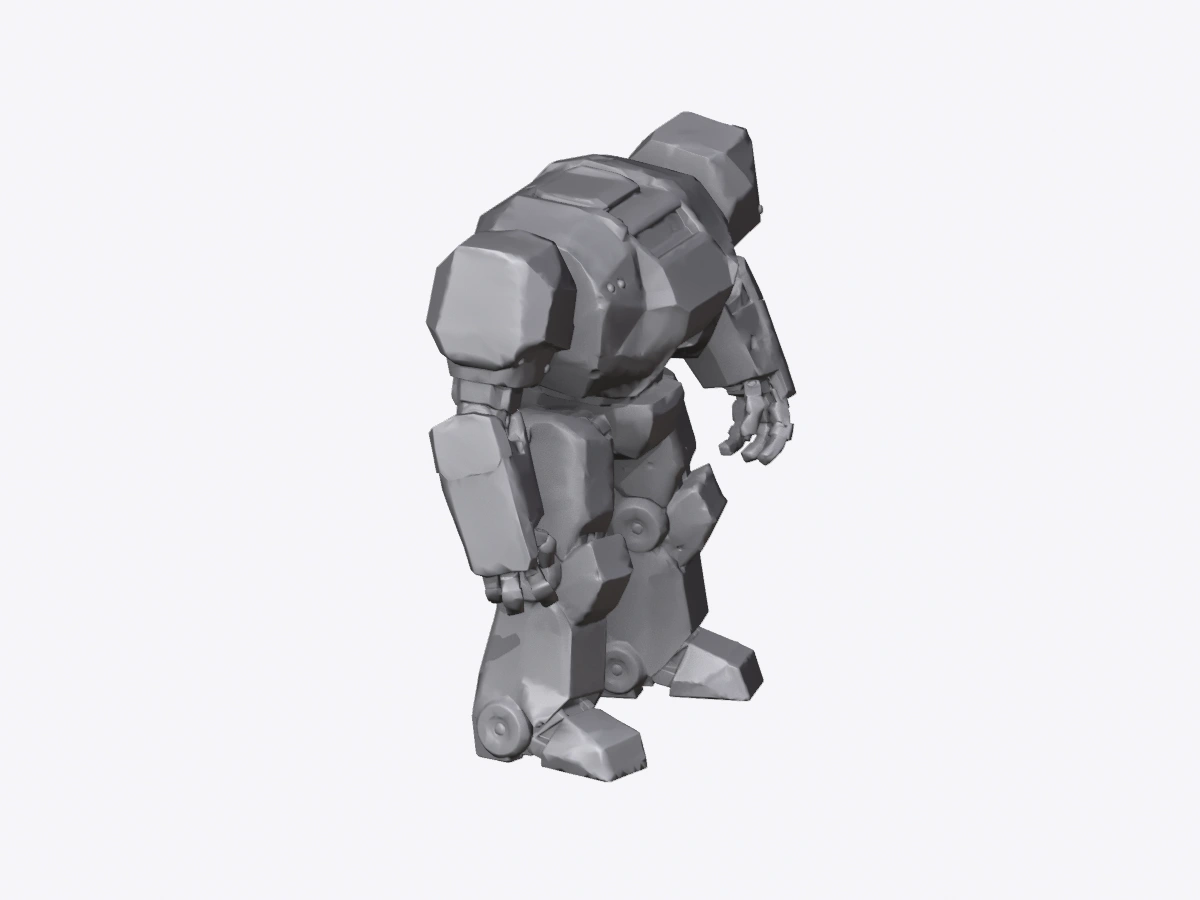
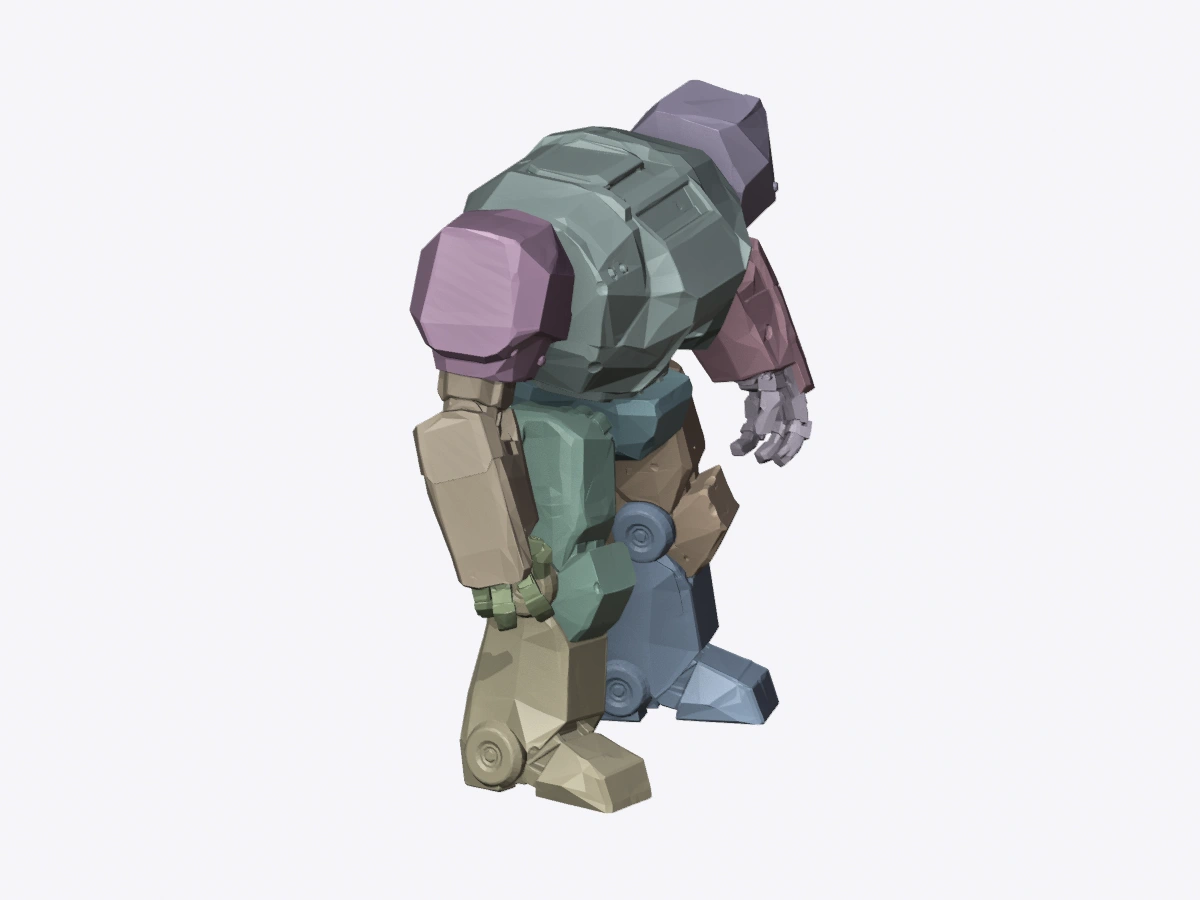
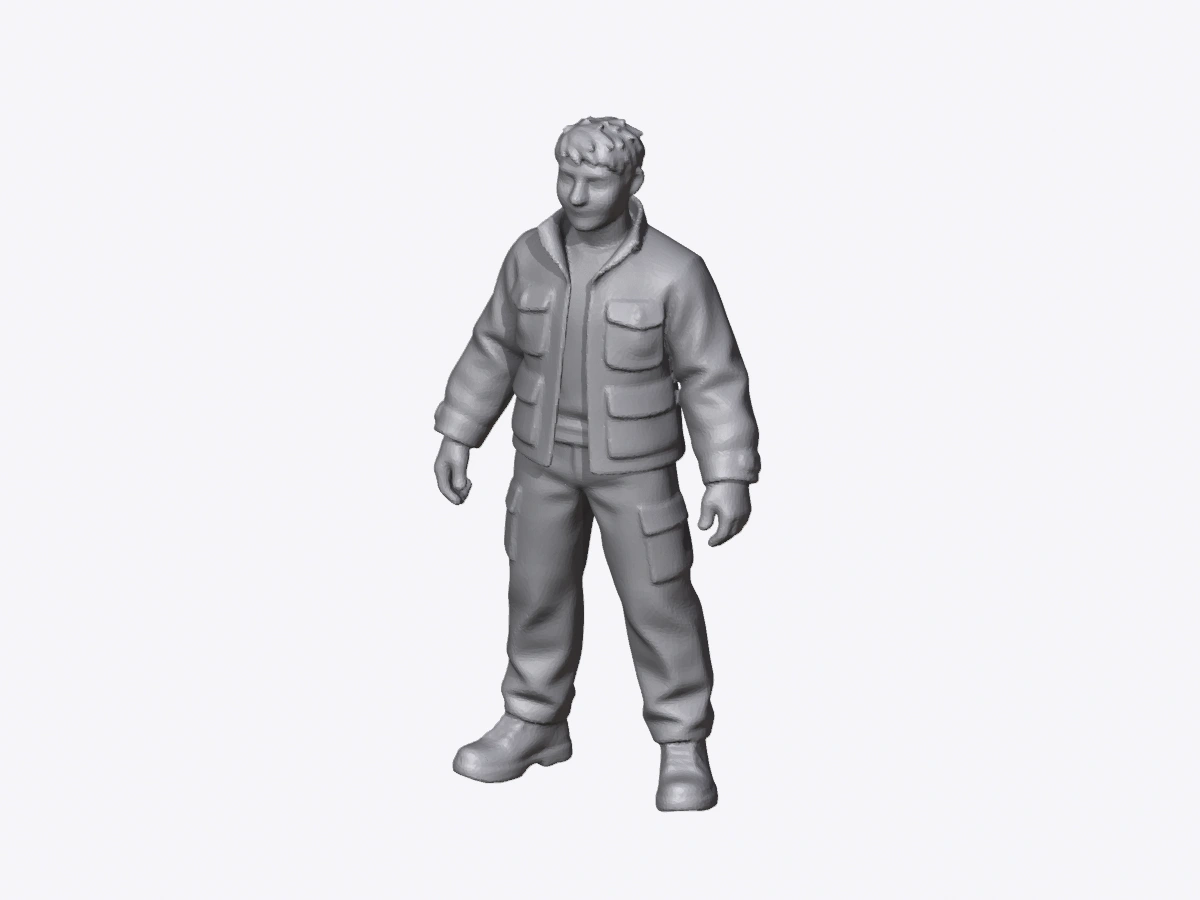
The saved robot uses Hi3D Split with General split and Medium detail. Choose Robot in the tool to inspect the source and the returned parts from different angles.
The saved character uses the character template with six body regions and no joints. Choose Full-body character in the tool to inspect the actual saved result. Boundaries and returned parts vary with the source.
Rendered directly from the existing source and result GLBs. Each pair uses the same camera angle and studio setup, with each model centered and fitted for display. Neutral shading and per-mesh display colors help inspect geometry; the colors are not a retexture result.
Use part separation when you need to work on an existing model one piece at a time. Review shared edges, grouping and materials before reusing the parts in a scene or passing them to another tool.
Break up an AI-generated prop or character and inspect the returned meshes individually. Use the parts view to see where the model was separated.
Bring the result into Blender to rename parts, refine boundaries and assign materials. Check shared edges and part placement before assembling the asset.
General detail settings and character templates offer different ways to group a model. The source geometry and selected model affect the output.
Use AI mesh segmentation to inspect and edit individual meshes. Check boundaries and materials before reusing them.
Use Remesh when you need a different face budget or topology rather than separate pieces. Simplify an existing model →
Use a slicer or mesh editor for a positioned plane cut and alignment connectors. AI part separation does not guarantee these features.
| Part separation | This is AI-based separation into meshes. The output may need cleanup and does not provide guaranteed semantic labels or stable part identifiers. |
|---|---|
| Cutting an oversized print | This is not a plane-cut STL editor with custom cut positions and guaranteed alignment pins. Use a slicer or mesh editor for precise printable cuts. |
| Input formats | Hi3D Split accepts GLB, OBJ and STL. Hunyuan Part Splitter accepts FBX with a 30,000-triangle limit. Check the selected model's current limits. |
Mesh segmentation groups an existing mesh into parts that can be inspected or edited separately. This tool uses AI-based part separation; it does not segment medical images or create a new 3D object from a photo.
Yes. The tool separates supported source models into multiple meshes. Inspect the result and refine it in a 3D editor when exact boundaries or named components matter.
Hi3D Split accepts STL as well as GLB and OBJ. It performs model-part separation. For a precise planar cut, printer-bed tiling or alignment connectors, use a slicer or dedicated mesh editor.
Character templates are available on supported models. A saved example contains six body-region meshes. Results depend on the input and are not a replacement for checking anatomy, joints or rigging.
Review them first. Names, origins, scale, materials, collision and any animation need to be checked in Blender and your engine. A separated mesh is one step in preparing a reusable asset.
New AI splitting tasks use credits. You can inspect the available controls and saved examples before running. The selected model's cost is shown before submission.