













Set a useful mesh budget
Use a target polygon count where supported, or choose a density preset. Start with the detail the asset needs at its expected camera distance.
Reduce polygons in an existing 3D model. Choose its mesh settings and inspect the result before continuing in Blender. See a saved example ↓
Upload a GLB, choose an example, or select a model from History.
Choose a model first, then upload a compatible 3D file or try one of its saved examples. Accepted formats and size limits are shown with the selection.
Set a polygon target or density preset. Triangle, quad and texture-preservation controls depend on the selected model.
Run the task using the displayed credits. Inspect the actual output, compare the mesh and export the file you need.
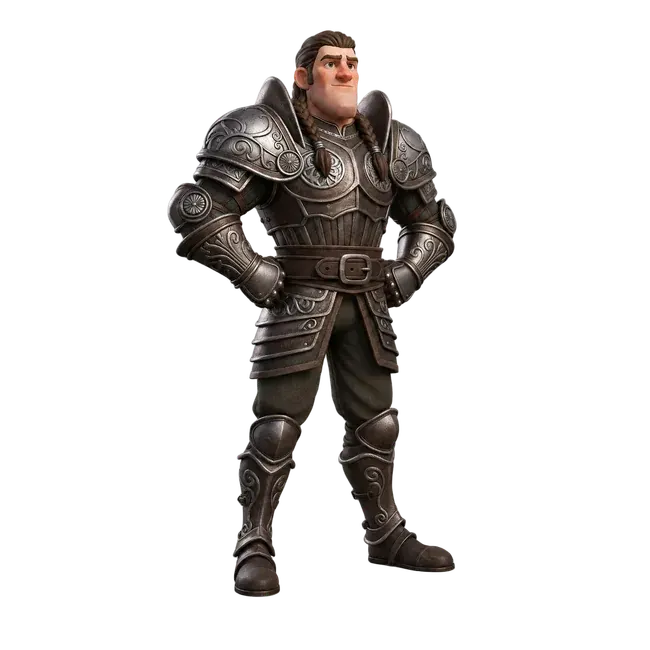
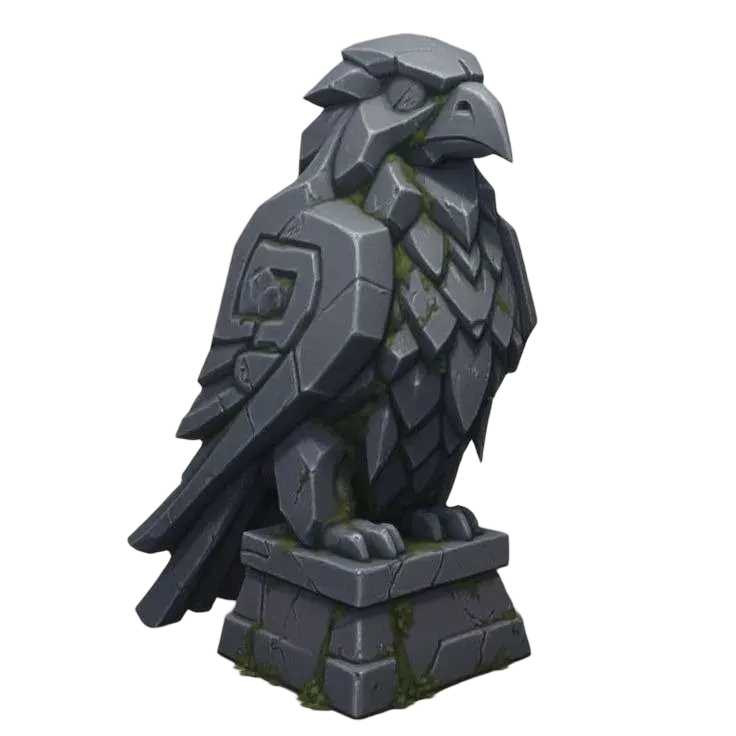
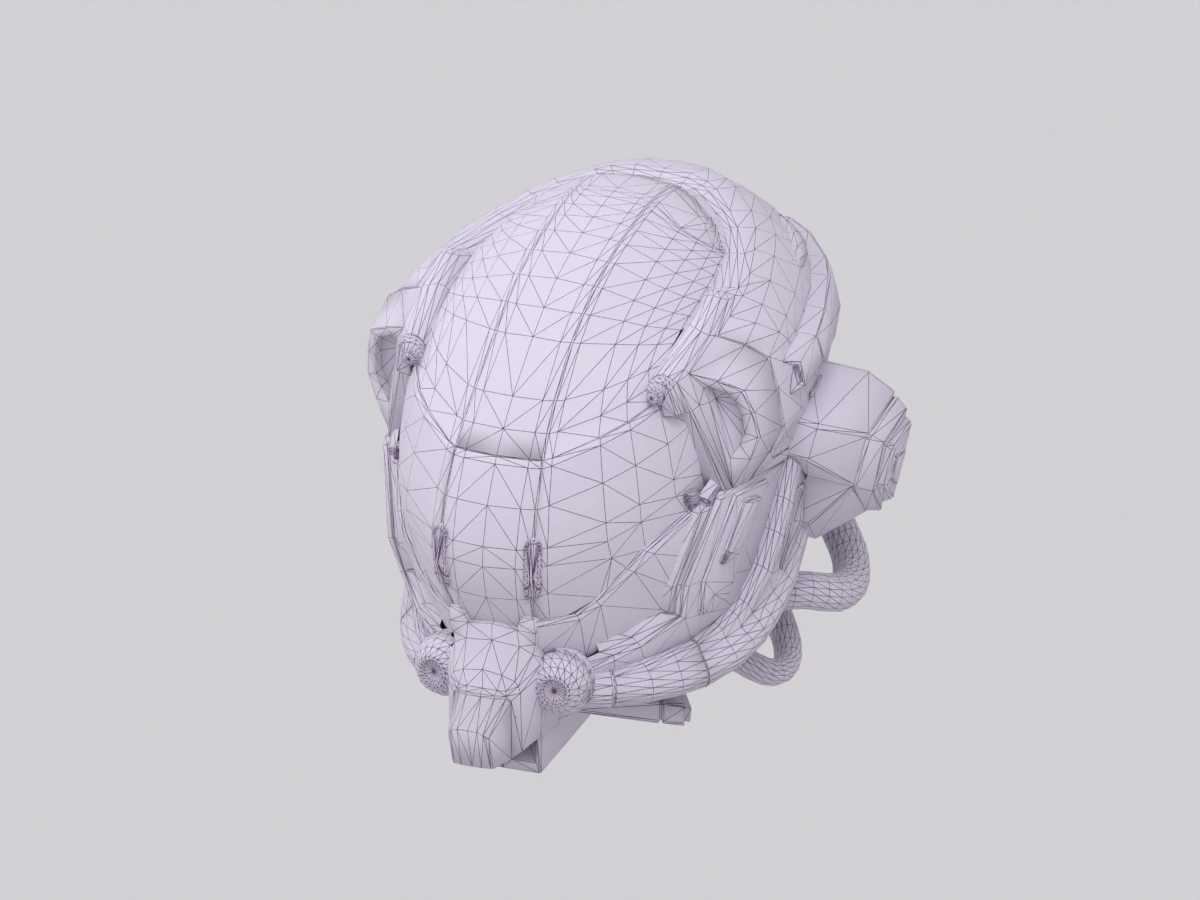
These saved examples show two ways to reduce an existing model's polygon count. Compare the chest's topology and the helmet's edges, then inspect your own result before exporting.
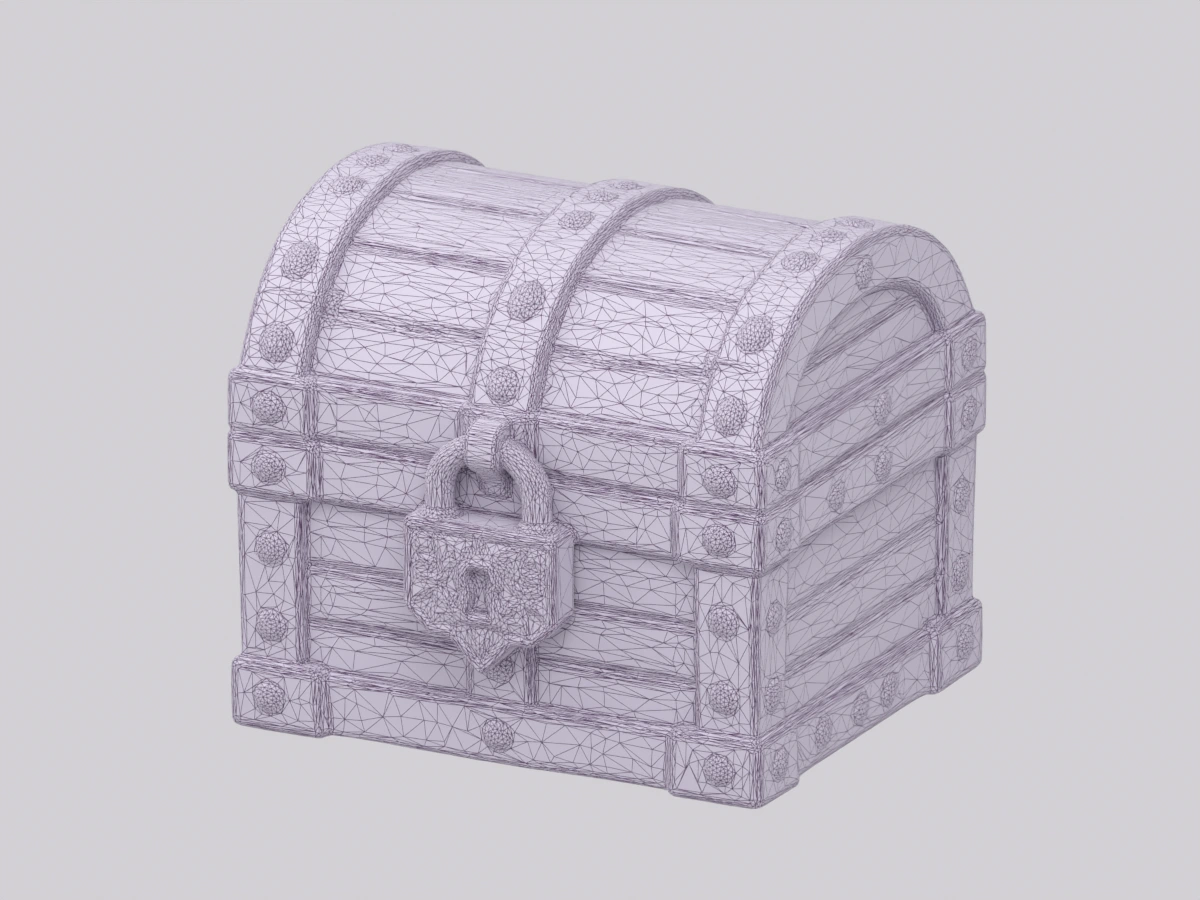
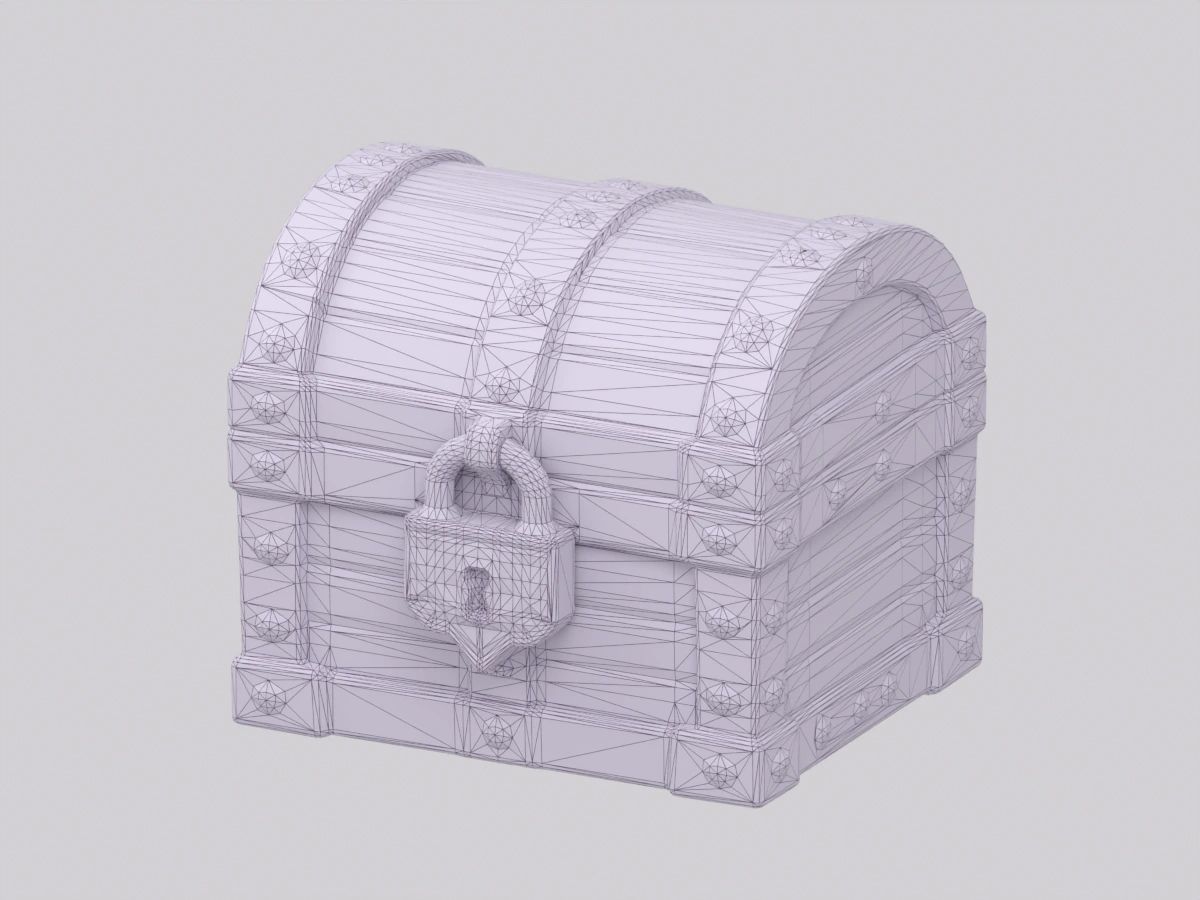
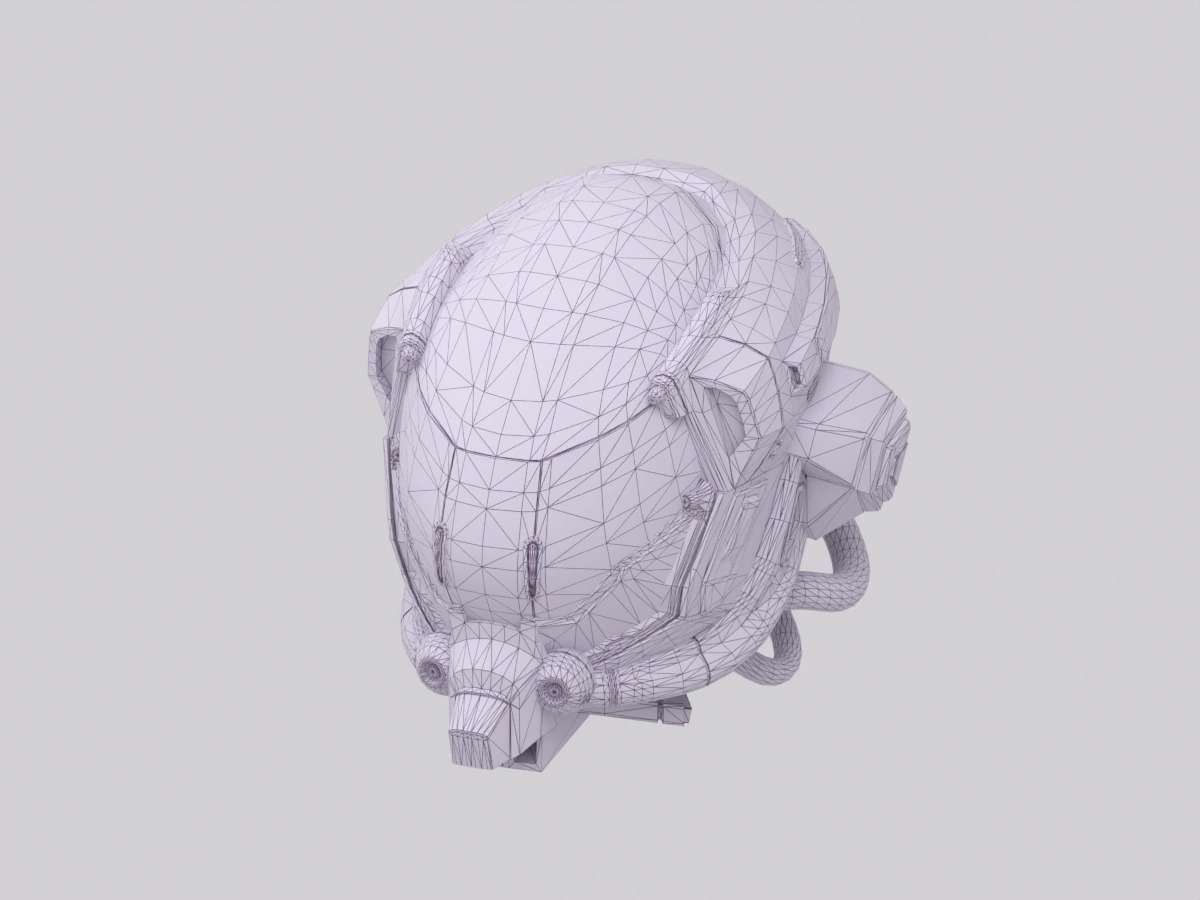
The saved Hunyuan Smart Topology example uses the Medium density preset with triangle output. Choose Hunyuan Smart Topology and Treasure chest in the tool to rotate the source and result.
Choose Damaged helmet in the default Tripo Remesh tool to inspect this saved pair. New polygon targets, topology choices and texture settings create a new task; review the selected model's cost before starting.
Rendered from the existing source and result GLBs shown in the tool. Each pair uses the same camera angle and studio setup, with each model centered and fitted for display. Clay and edge views show geometry rather than texture preservation. Triangle counts describe these saved files; results vary with the input and settings.
Start with the job your existing model needs. A background prop, a close-up object and a mesh for further editing can need different levels of detail. Review the actual output before deciding which version to keep.
Use a target polygon count where supported, or choose a density preset. Start with the detail the asset needs at its expected camera distance.
Inspect curved edges, thin parts and surface details after remeshing. A lower face count is useful only when the result still suits your scene.
Download the processed model for material checks, assembly and engine preparation. Review UVs, shading, scale and any rig before using the asset.
Use this tool to adjust mesh density or rebuild topology. Compare the actual face count, shape and shading after processing.
If geometry is already suitable and delivery size is the problem, try texture and file compression. Open GLB compressor →
Start with the low-poly generator when you do not have a model to simplify. Generate a new asset →
| Remeshing vs decimation | Remeshing rebuilds topology; decimation mainly removes faces. Neither guarantees a deformation-ready quad layout. Inspect the result for your use case. |
|---|---|
| Texture preservation | Texture baking is available on supported models. Check UV seams, material assignments and small details after processing. |
| Engine preparation | Remeshing does not automatically build a complete LOD chain, collisions or an optimized game scene. Validate these in Blender and your engine. |
Yes. Open the Remesh tool, select a supported model and use its polygon target or density controls. Inspect the output because the actual face count and retained detail vary with the source.
The available models support different inputs. Hunyuan Smart Topology accepts GLB; Tripo Remesh accepts GLB, OBJ, FBX and STL. The tool shows the current upload limit for each selection.
This tool processes an existing mesh. The low-poly generator starts a new asset from text. Use Remesh when you already have a model whose structure you want to change.
Do not assume that a rebuilt mesh preserves a rig, skin weights or animation. Keep the source, inspect the exported result and plan to rebind or retarget it if needed.
Yes. You can explore the controls and saved examples first. An account and sufficient credits are required to run a new task; the cost is displayed before submission.